Adobe Creative Suite Monitor Setup: Guaranteed Fit Guide
By Sofia Jimenez • 6th Dec
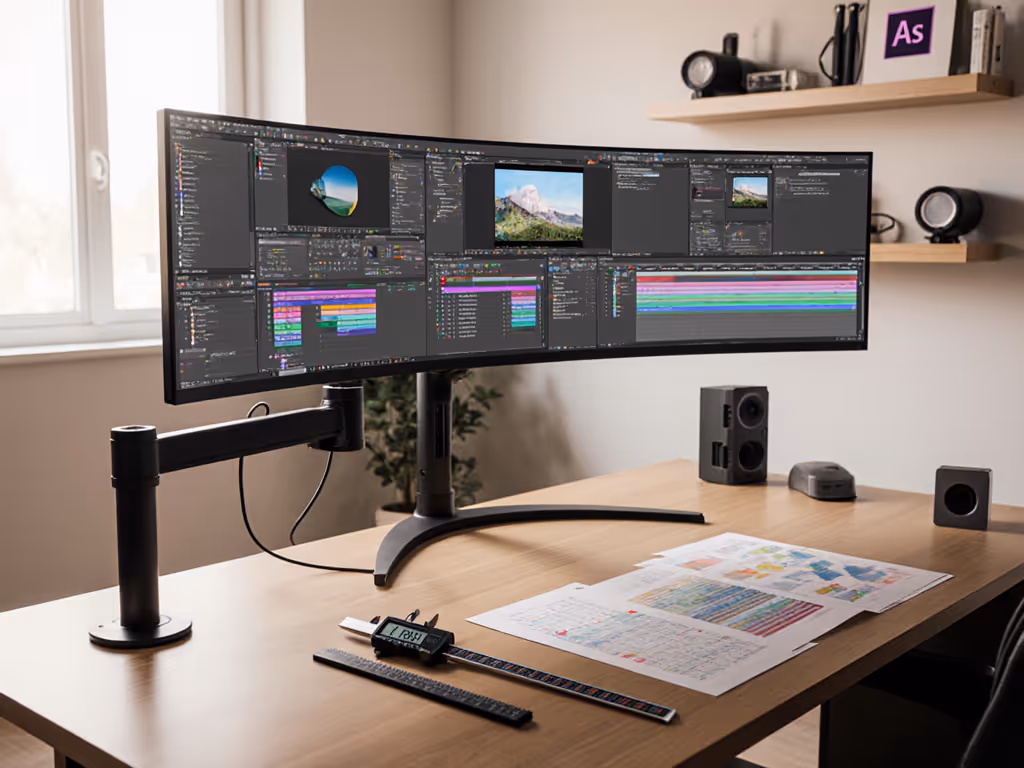
When building your Adobe Creative Suite monitor setup, the difference between magic and misery comes down to one thing: precision. Forget generic advice that leaves you shipping returns, because your Photoshop layers, Illustrator vectors, and Premiere timelines demand measured solutions. Pair this with the right CAD software monitor accessories to transform guesswork into guaranteed fit. Start with a preflight, end with a first-time fit that makes your creative workflow feel effortless.
Why "Good Enough" Fails Creative Professionals
I once shipped three monitors back in one week. A dock underpowered my color grading display, the arm couldn't handle the curve of my 3D modeling display, and the cable capped my resolution mid-project. That's why I treat every setup like a preflight checklist: confidence comes from measurement. For Creative Suite pros, your monitor isn't just a screen, it's your canvas. Generic specs like "1080p compatible" ignore critical details:
Did you know Adobe Premiere Pro requires 1920x1080 minimum resolution for 4K timelines? Or that Photoshop's 3D modeling features demand 1680x1050 displays with 512MB+ VRAM? One skipped spec risks weeks of lag, color inaccuracy, or worse, costly returns.
Let's fix this with your five-minute preflight. Grab your tape measure and laptop (we're de-risking your setup step by step).
Step 1: Map Your Monitor's Physical Blueprint
Why this matters: That sleek ultrawide might sag on cheap arms, or its thick bezels could block your webcam. Measure first, buy later.
-
VESA pattern: Locate the four screw holes on the monitor's back. Measure center-to-center (mm) horizontally/vertically. If you're unsure about sizing, use our visual VESA pattern guide to confirm 75x75 vs 100x100 (and larger) before ordering arms. Most Creative Suite users need 100x100mm or 75x75mm (but check!). Adobe Speedgrade's dual-display workflows often require larger 200x200mm mounts for heavy professional panels.
-
Weight & center of gravity: Weigh the monitor (with stand removed). For curved or ultrawide color grading monitor requirements, note if weight shifts toward the bottom (common in 32"+ OLEDs). Arms must support 20% more than this weight.
-
Clearance zones: Measure 360° around your monitor:
-
Top: Space for webcam/light bars (thick bezels need 4-6")
-
Bottom: Clearance for soundbars (prevents muffled audio in video reviews)
-
Sides: Room for cable ports (DP/HDMI) without straining connections

Pro tip: Sketch these measurements on paper. If your monitor has non-standard mounting (like Apple Studio Display), skip universal arms, and seek specialized CAD software monitor accessories with custom adapter plates.
Step 2: Decode Resolution & Color Demands by Software
Why this matters: Your Illustrator art looks pixelated? Your Premiere Pro timeline stutters at 4K? You're missing software-specific display demands.
Adobe's suite isn't one-size-fits-all. Here's your quick-reference preflight checklist:
| Creative App | Minimum Display Spec | Critical for Color Grading/3D |
|---|---|---|
| Photoshop | 1280x800 @ 100% scaling | 1920x1080, 100% sRGB, ΔE<2 |
| Premiere Pro | 1920x1080 pixels | Dual 4K HDR panels w/ hardware LUTs |
| Illustrator | 1024x768 | 1680x1050 for vector precision |
| After Effects | 1280x900 | 512MB+ VRAM for GPU rendering |
Critical nuance: "4K" isn't enough. For 3D modeling display needs, verify:
- Panel type: IPS for wide angles (essential for collaborative reviews)
- Calibration: Hardware LUTs for critical color work (not just software profiles)
- HDR: DisplayHDR 1000 certification for Premiere Pro HDR workflows
My mistake? Assuming "4K" meant smooth 4K/60 playback. My card choked without NVIDIA Quadro-class GPUs. Now I preflight GPU specs with display resolution, always.
Step 3: Audit Ports & Power Like a Pro
Why this matters: A single wrong cable sinks your entire workflow. HDMI 2.0 vs. DP 1.4? 60W vs. 96W PD? Let's make this foolproof.
Grab your monitor's manual and laptop. Cross-reference these three columns:
| Your Monitor's Port | Bandwidth Required for Adobe Workflow | Safe Cable Standard |
|---|---|---|
| DisplayPort | 4K/120Hz for Premiere timelines | DP 1.4 HBR3 (no DSC) |
| HDMI | 4K/60 for After Effects previews | HDMI 2.0a+ (HDR10) |
| USB-C | Single-cable laptop to monitor | 90W+ PD, DP Alt Mode |
Golden rule: If your workflow needs color grading monitor requirements (like 10-bit 4K), never use HDMI 2.0. DP 1.4 is mandatory, because it handles 4K/120 without compression artifacts. For dual monitors: Thunderbolt docks > USB-C docks. See our tested Thunderbolt 4/5 docks for dual 4K workstations to avoid bandwidth bottlenecks. Verify both ports drive your specific resolution simultaneously (many fail at 4K/60 dual).
Real-world fix: When my DP 1.2 cable capped Premiere at 4K/30, I swapped to a certified DP 1.4 cable, measured the specs first. No more frame drops.
Step 4: Calculate Your Desk's "Fit Envelope"
Why this matters: Standing desks, glass tops, and shallow desks sabotage 90% of one-size-fits-all arms. Measure like your workflow depends on it, because it does.
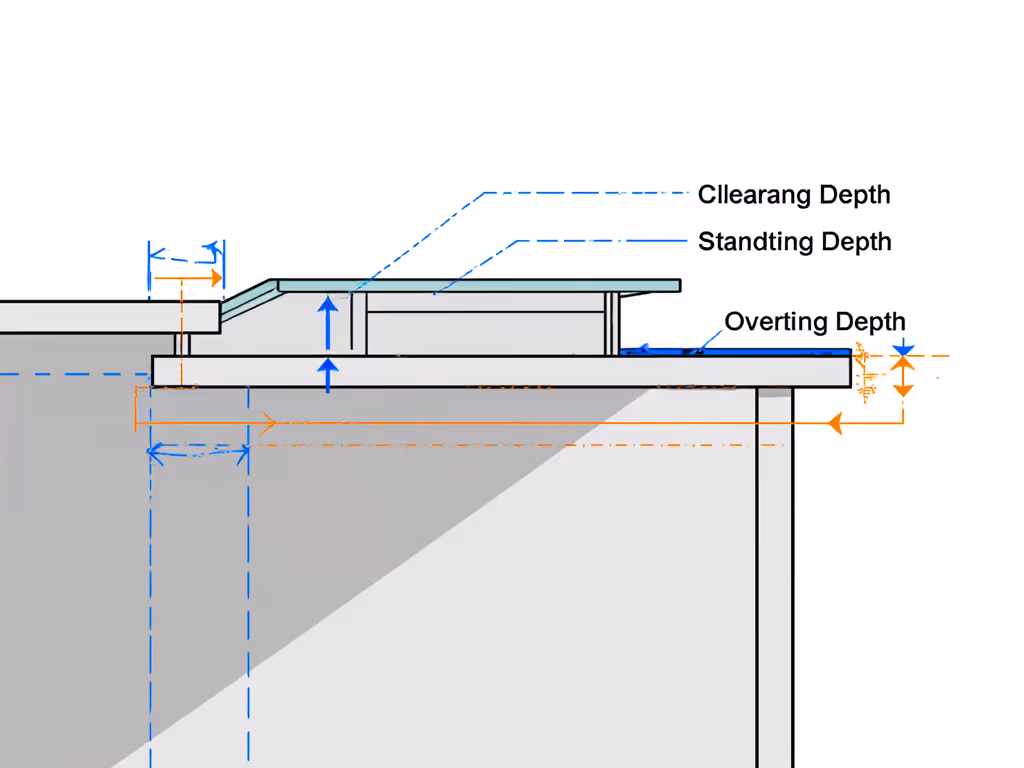
Your desk isn't just a surface, it's a physics problem. Before choosing hardware, compare clamp vs grommet vs bolt-through mounts to match your desk thickness and material. Calculate your true clearance zone:
- Desk thickness: Clamp mounts need 0.5"-3" (standard desks). Glass tops? Use grommet mounts rated for 0.6"+ thickness
- Overhang depth: Standing desks often have <2" overhang. Arms need base depth ≤ this number
- Height at max extension: At full height, does the arm wobble? Test with 20% more weight than your monitor
Space-saver hack: For <24" desk depth:
- Use dual arms with 16" extension (not 24")
- Rotate monitors vertically for Illustrator layouts
- Skip bulky soundbars, opt for monitor-integrated speakers
Step 5: Build Your Compatibility Scorecard
Stop searching for "best monitors." Start scoring your monitor against Creative Suite's demands. Use this checklist before clicking "buy":
| Requirement | Pass/Fail | Your Measurement |
|---|---|---|
| Min. resolution (Premiere: 1920x1080) | ❏ | |
| VESA pattern matches arm | ❏ | |
| DP 1.4 support (for 4K/120) | ❏ | |
| Desk depth ≥ arm travel | ❏ | |
| ΔE < 2 (for color work) | ❏ |
If any box is unchecked, you're gambling. Return rates for mismatched monitors hit 34% according to Creative Pros Association data. Why risk it?
When to Splurge (and When to Skip)
Specialized monitor accessories aren't optional for Adobe workflows, they're insurance. Invest in:
- Color hoods: For accurate grading in ambient light (non-negotiable for Cs6/Cloud)
- Dual-cable arms: If your monitor has both DP and HDMI (ensures 4K/120 when one port fails)
- VESA adapter kits: For non-standard mounts (Apple/Samsung QLED)
Skip these "upgrades" that cause returns:
- Single-cable docks under 90W PD (fails 16" MacBook Pros)
- "Universal" arms without weight/curve specs
- HDMI 2.1 cables labeled "4K/120" without FRL certification
Your Actionable Next Step
Don't overhaul your entire desk today. Pick one pain point: your monitor's VESA pattern, your cable's bandwidth, or your desk's overhang depth. Measure it right now.
In five minutes, you'll eliminate 80% of return risks. Because Start with a preflight, end with a first-time fit, where your creative suite setup feels like magic, not a miracle. Your next Adobe project deserves that confidence.
Related Articles