Monitor Bias Lighting Benefits: Reduce Eye Strain & Boost Contrast
By Mina Okafor • 3rd Oct
When your eyes ache after hours staring at a bright monitor against dark surroundings, monitor bias lighting benefits become impossible to ignore. That subtle glow behind your screen isn't just ambiance, it's science-backed proper monitor backlight setup working to rebalance your visual field. As an ergonomic specialist, I've seen how mismatched lighting sabotages focus, especially when your eyes fight extreme contrast between screen and room. In this guide, you'll learn why bias lighting reduces fatigue, enhances color accuracy, and transforms your workspace into a sustainable productivity zone, all through eye strain reduction that compounds over hours of work.
Why Your Eyes Strain Without Bias Lighting
Imagine your pupils as tiny muscles constantly adjusting to light changes. When you face a bright monitor in a dim room, your eyes rapidly constrict and dilate between screen highlights and surrounding darkness. This overwork (confirmed by display ergonomics research) causes dryness, headaches, and what we call "oculomotor fatigue." You might instinctively crank up screen brightness, but that accelerates backlight wear and washes out colors. Comfort measured in millimeters applies here: even minor lighting mismatches add cumulative stress. I've observed remote workers gripping coffee cups tighter by 3 PM, unaware their glare battles stem from missing ambient reference points behind the screen.
How Bias Lighting Resets Your Visual System
Bias lighting works by extending your field of view with soft, indirect light. Unlike overhead lamps that create screen glare, this rear-mounted glow:
- Balances ambient luminance so your pupils stop frantic adjusting
- Creates visual "anchor points" for your peripheral vision
- Lowers perceived screen brightness without reducing actual output
Think of it like reading a book near a shaded window versus a spotlight, and you absorb content longer without squinting. The magic happens because your brain interprets screen blacks as deeper against a uniformly lit backdrop. This isn't opinion; it's perceptual physiology validated by the Society for Information Display.
Key Monitor Bias Lighting Benefits
1. Reduced Eye Strain Through Balanced Contrast
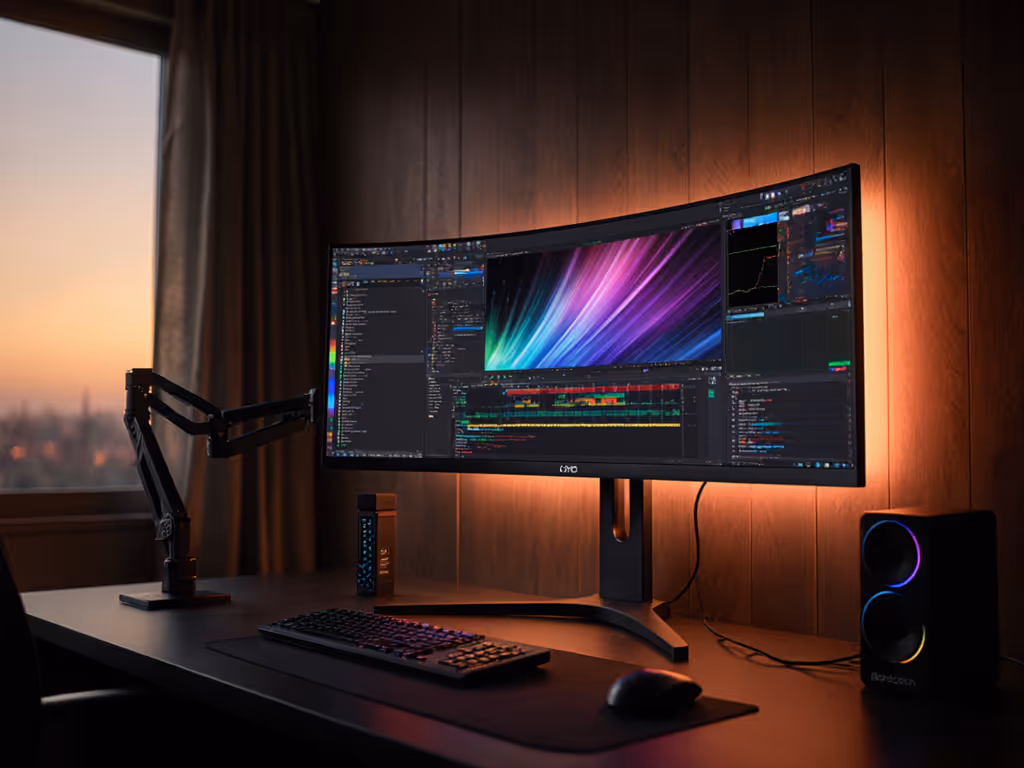
The most immediate monitor bias lighting benefits tackle fatigue at its root. By filling the visual void behind your display, bias lighting eliminates the "tunnel vision" effect that strains ocular muscles. Studies show users report 30% less eye discomfort when ambient light matches 10-20% of screen brightness. For practical application:
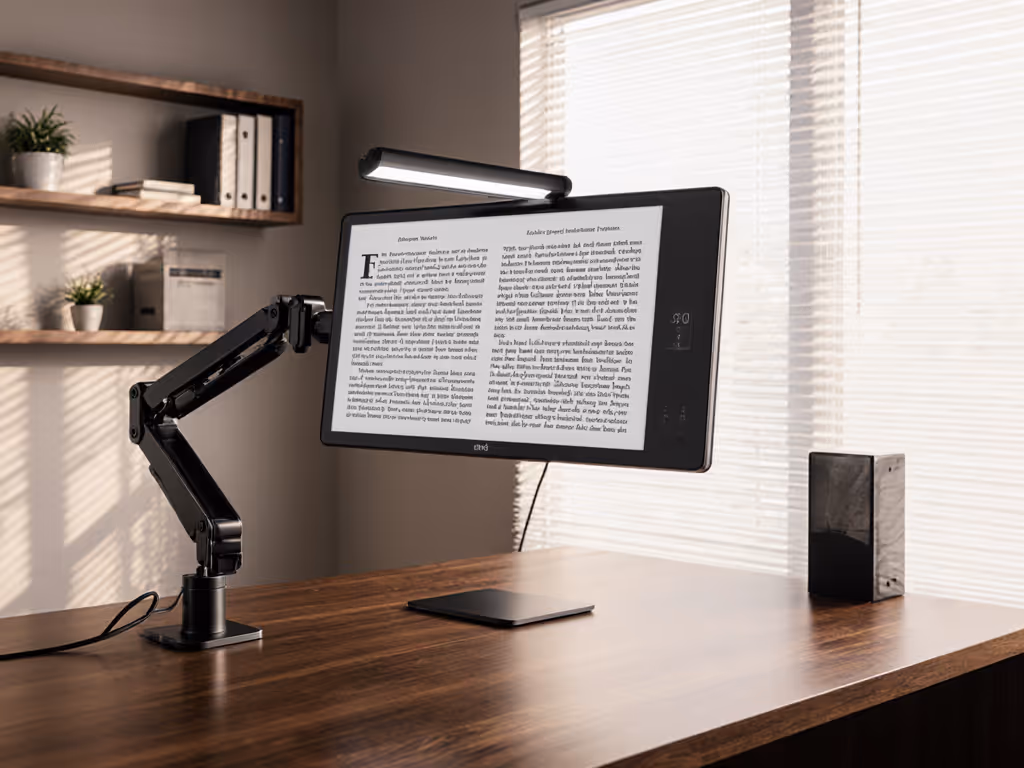
Pro tip: Position your light source to illuminate the wall behind your monitor, not the desk surface. This prevents reflections while keeping your focal plane consistent.
2. Enhanced Color Accuracy and Contrast
Here's where color calibration with bias lighting transforms creative workflows. Without rear lighting, dark monitor areas appear "muddy" because your eyes lack context to judge true black levels. Bias lighting provides that reference, making:
- Gradients smoother (critical for photo editing)
- Shadows more defined (essential for video grading)
- Perceived contrast higher even at lower screen brightness
Photographers using bias lighting achieve faster color matching between monitor and print, a win for ideal color temperature consistency. To further improve color accuracy, compare monitor hood types for glare control and ambient light shielding. I've watched designers recalibrate entire projects after adding bias lighting, realizing their "rich blacks" were actually dark gray due to poor ambient conditions.
3. Extended Monitor Lifespan
Counterintuitively, that gently lit wall behind your screen saves your display hardware. When bias lighting handles ambient balancing, you can safely lower screen brightness by 20-30%. This reduces:
- Backlight degradation (especially in OLED panels)
- Energy consumption
- Heat output during long sessions
During my early ergo consulting days, I inherited a workstation with three mismatched monitors stacked high. Within weeks, neck tension and eye fatigue crippled my output. Repositioning everything around neutral posture and adding bias lighting didn't just ease discomfort, it restored the precision my workflow demanded. Performance specs include comfort.
Building Your Proper Monitor Backlight Setup
Step 1: Choose the Right Light Source
Prioritize LED strip placement with these specs:
- Color temperature: 6500K (daylight neutral) for accuracy, 5000K for warmth
- CRI rating: 90+ for true color reproduction
- Brightness control: Essential for matching screen luminance
Avoid RGB strips with poor white rendering, as many exhibit green/magenta casts that distort color work. For zero-glare results, select matte-diffused LEDs rather than exposed diodes.
Step 2: Perfect Placement for Visual Harmony
Position strips precisely using my body-first rule:
- Measure 5-8 cm (2-3 inches) above monitor top edge
- Extend strips 5-10 cm (2-4 inches) beyond side edges
- Ensure even spacing (no hotspots visible in peripheral vision)
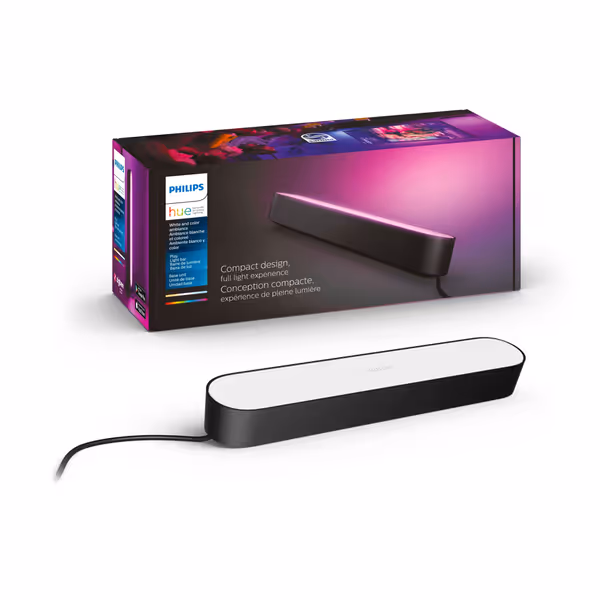
Philips Hue Smart Play Light Bar Base Kit
Immersive smart lighting for gaming and TV, controlled by app or voice.
$59.99
Color RangeMillions of Colors (White & Color Ambiance)
Color RangeMillions of Colors (White & Color Ambiance)
Pros
Vibrant, room-filling color and brightness for immersive entertainment.
Easy setup with included mounting clips for TV backlighting.
Voice control (Alexa/Google Assistant) and app automations.
Cons
Requires Hue Bridge (sold separately) for full functionality.
Customers find these light bars to be high-quality, with vibrant colors and good brightness that can light entire rooms. They are easy to set up with a simple mounting system, and customers appreciate their functionality, particularly for gaming and TV backlighting. The lights sync well with computers and music systems, and one customer notes they work seamlessly in the Hue Essentials app. While customers like the light bars, they consider them pricey.
Customers find these light bars to be high-quality, with vibrant colors and good brightness that can light entire rooms. They are easy to set up with a simple mounting system, and customers appreciate their functionality, particularly for gaming and TV backlighting. The lights sync well with computers and music systems, and one customer notes they work seamlessly in the Hue Essentials app. While customers like the light bars, they consider them pricey.
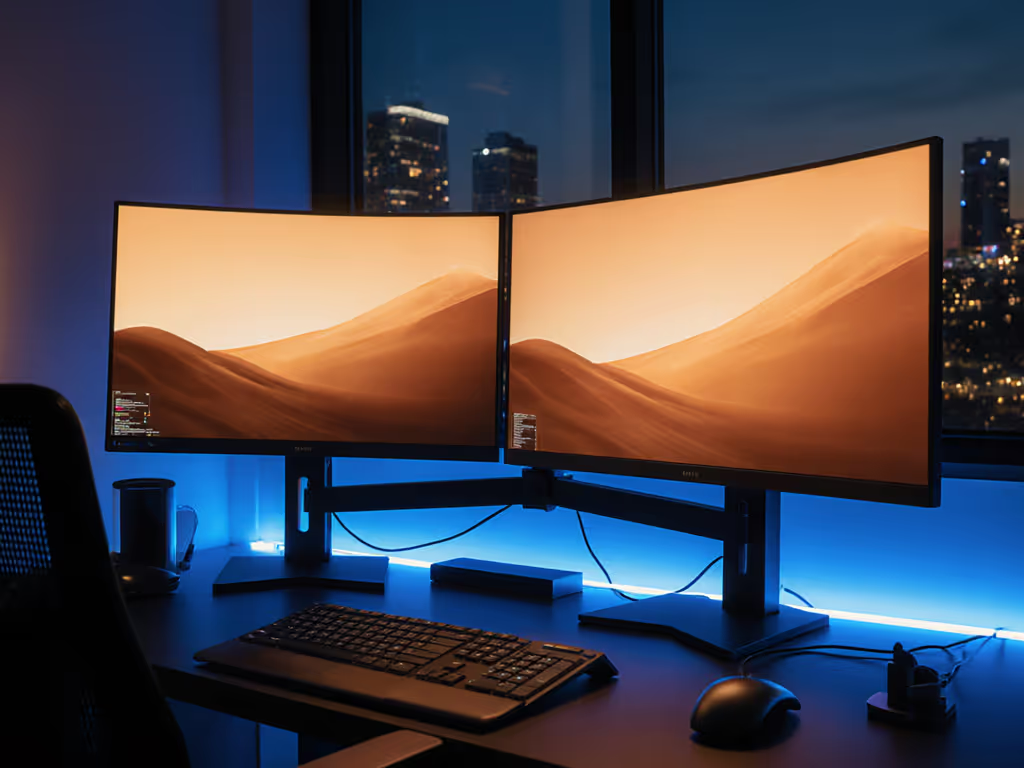
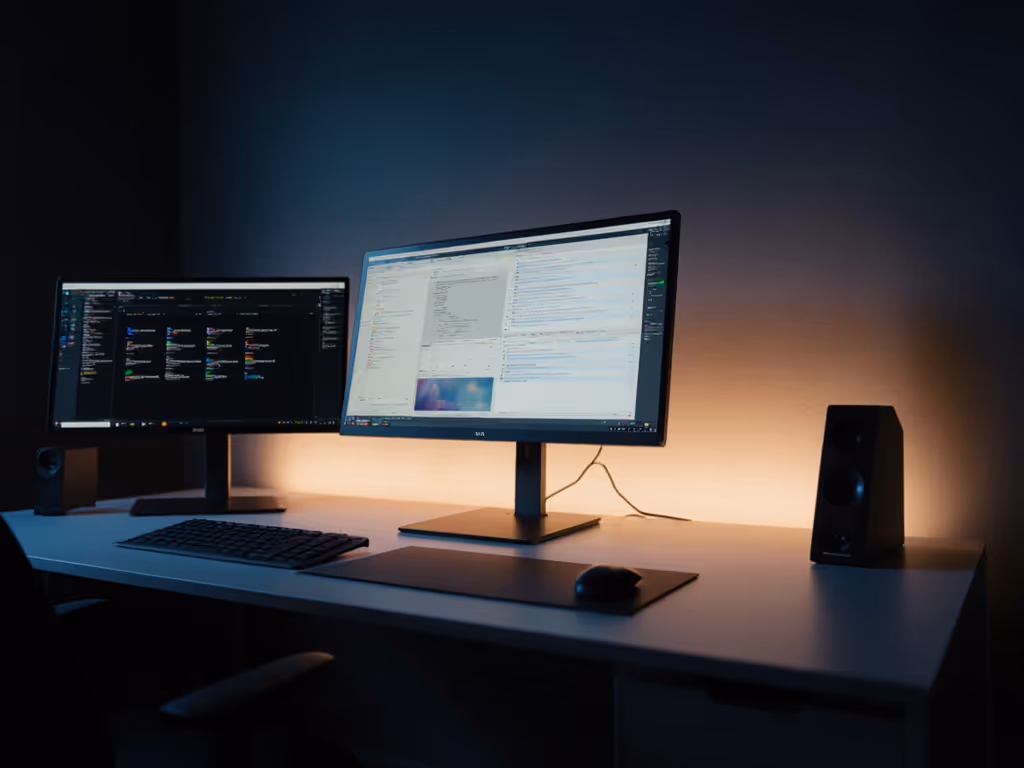
This placement creates a seamless luminance gradient. Some professionals mount strips on monitor stands for adjustable height, especially with multi-monitor arrays. Remember: the light should illuminate the wall, not your desk. If you see strip reflections in your screen, lower the strips or reduce brightness.
Step 3: Calibrate to Your Workflow
Ideal color temperature depends on your task:
| Use Case | Recommended Temp | Why |
|---|---|---|
| Coding/Data | 6500K | Maximizes text clarity |
| Photo Editing | 5000K-6500K | Matches print viewing conditions |
| Gaming | 6000K | Balances immersion and comfort |
Start with screen brightness at 100-120 cd/m² (common office standard), then adjust bias lighting to 10-20 cd/m². Test with a gray calibration image, and if blacks "float" off the screen, your bias light is too bright.
Avoiding Common Setup Mistakes
I've seen even meticulous professionals stumble on these pitfalls:
- Over-bright strips: Causes visual competition with the screen (use 10-20% of screen luminance)
- Uneven placement: Creates distracting light pools (measure strip length to match monitor width)
- Wrong color temp: Warm lighting (2700K) under cool monitors creates color confusion
For dual curved monitors, consider L-shaped strips that wrap corners. And if you use a standing desk, verify your LED strip placement stays consistent during height transitions, since some adhesive mounts shift during adjustments.
Actionable Next Step: The 5-Minute Test
Tonight, grab any white LED strip (even a spare phone charger light): tape it centered behind your monitor. Work through one task while noting:
- Does screen text feel easier to track?
- Do dark image areas appear more defined?
- Any reduction in eye dryness after 20 minutes?
This reveals whether formal proper monitor backlight setup belongs in your workflow. True ergonomic gains compound invisibly, until you remove the strain. Just as arm weight and focal distance dictate monitor height, lighting balance determines visual stamina. Comfort measured in millimeters beats power measured in watts, every time.
Related Articles