Monitor Hardware vs Software: Remote Collaboration Setup Fix
By Mina Okafor • 26th Nov
As remote work becomes the norm, many professionals struggle with mismatched remote collaboration monitor accessories that cause eye strain and fatigue. The core issue often lies in the overlooked interplay between hardware vs software collaboration setups. Your physical monitor placement directly impacts how effectively you engage with virtual whiteboards, shared screens, and video calls. I've seen too many talented people sacrifice posture for pixel density, like when I inherited three uneven monitors stacked sky-high early in my career. Within days, my neck ached and my workflow slowed. That experience taught me: comfort measured in millimeters beats power measured in watts. Let's fix your remote setup so you can collaborate longer with less strain.
Why Your Monitor Hardware Sets the Foundation
The Physical Reality of Remote Work
Your eyes and neck don't care about your screen resolution (they care about where your monitor lives in space). Proper remote meeting monitor configuration starts with understanding three ergonomic constants: For a deeper walkthrough of eye level, distance, and tilt, see our ergonomic monitor height guide.
- Your eyes naturally look 10-15 degrees below horizontal
- Your focal distance for reading should be 50-70cm (20-28 inches)
- Your shoulder height changes 8-10cm when seated versus standing
When your monitor sits too high, you tilt your chin up, compressing cervical vertebrae. Too low, and you crane forward, straining trapezius muscles. Many remote workers compound this by placing monitors too far back to "fit more screens," forcing squinting and forward head posture. Remember my early career mistake? I stacked those monitors without considering reach arcs (the invisible zone where your arms comfortably operate without shoulder strain).
Hardware Checklist for Collaboration Success
Before adjusting software settings, verify your physical setup:
- Height: Top of screen should align with eyebrow level when seated
- Distance: Elbow-to-knuckle measurement (usually 50-70cm) from eyes to screen
- Tilt: 10-20 degree backward tilt for glare control
- Alignment: Center screen with your nose, not your desk edge
Posture first, furniture second. No software can compensate for a monitor positioned outside your natural reach arc.
Look for collaborative workspace accessories that offer micro-adjustments. Monitor arms with tension control let you fine-tune positioning as your posture shifts throughout the day. Solid VESA mounts prevent that distracting wobble when typing at standing height. If using dual monitors for virtual whiteboard sessions, angle them inward 30 degrees to maintain neutral head position.
Software's Role in Visual Comfort
How Screen Sharing Affects Your Physiology
Even perfect hardware fails when software settings undermine your ergonomics. Screen sharing optimization isn't just about bandwidth, it is about visual comfort. Consider these often-overlooked factors:
- Scaling settings: When your shared screen appears tiny to others, you instinctively lean closer
- Refresh rate mismatches: 60Hz vs 120Hz displays cause subtle eye fatigue during long sessions
- Color temperature: Blue-heavy default settings increase eye strain during evening calls
Video conferencing tools often force suboptimal display behavior. For example, some platforms default to stretching video to fill your screen, making presenters appear unnaturally wide and triggering subconscious visual discomfort. Others disable hardware acceleration when screen sharing, causing stutter that makes your eyes work harder to track motion.
Optimizing Virtual Whiteboard Monitor Setups
For teams using Miro or MURAL, hardware and software must coordinate:
- Set your virtual whiteboard monitor to native resolution (no scaling)
- Position it at seated eye level, standing height makes prolonged whiteboard work impossible
- Use platform-specific settings like "Presenter Mode" to maximize visible canvas
- Enable "Dark Mode" if available to reduce glare during brainstorming
I've measured participants' blink rates during whiteboard sessions (they drop 30% when monitors sit outside the optimal focal zone). That's dry eyes, fatigue, and shorter productive collaboration time. Your hardware determines the physical canvas; your software settings determine how comfortably you can work on it.
Your Step-by-Step Setup Fix
Step 1: Map Your Natural Posture Zone
Before touching any settings:
- Sit normally at your desk and let arms rest
- Notice where your elbows naturally fall (should be 90-110 degrees)
- Close eyes, then slowly open them, where does your gaze land?
- Place a sticky note at that height on your current monitor
This "gaze point" is your true ergonomic center (not the monitor's center). Now adjust hardware so this point aligns with your screen's top third.
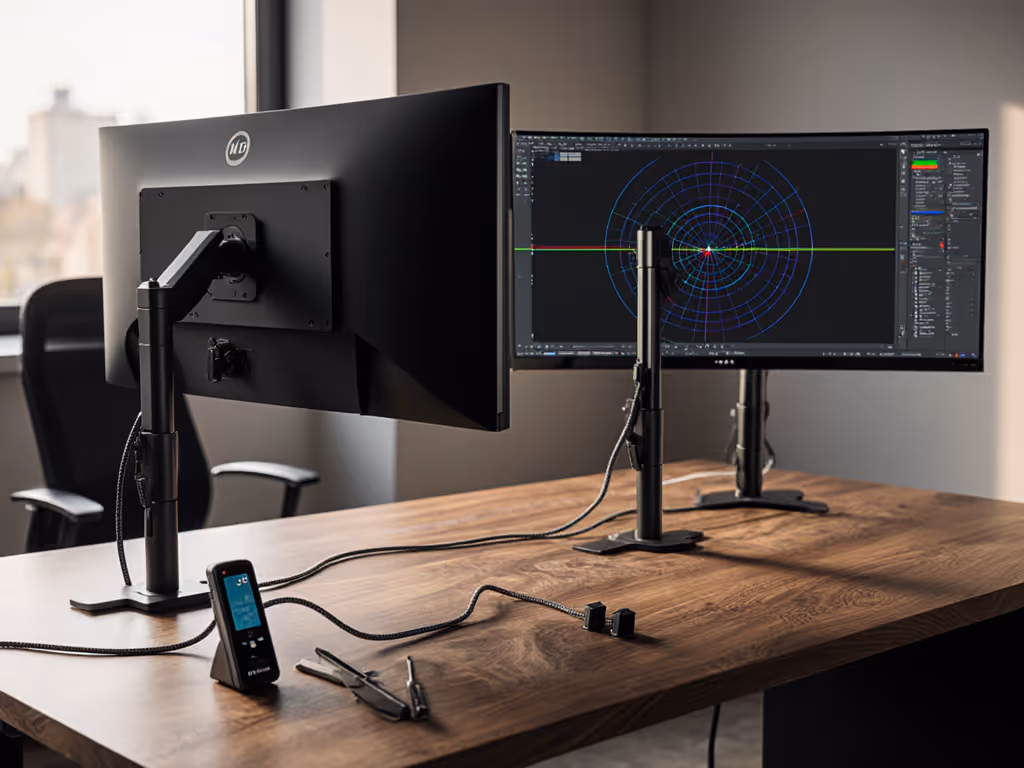
Step 2: Optimize Hardware for Remote Workflows
For screen sharing optimization through hardware:
- Single monitor users: Position display 5-7cm (2-3 inches) above eye level when seated
- Dual screen setups: Align primary monitor with your nose; angle secondary 30° inward
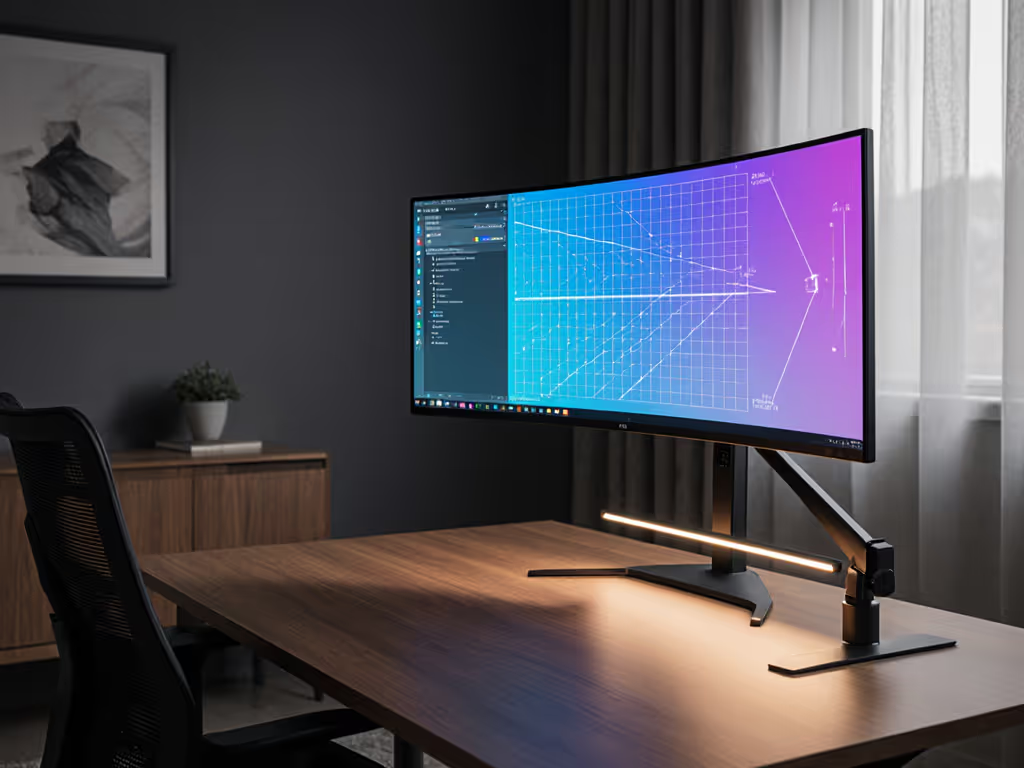
- Ultrawide displays: Tilt top toward you 10-15° to prevent peripheral distortion
Investigate monitor arms with ≥15cm (6 inch) height range for sit-stand transitions. Look for counterbalance systems that maintain position when you adjust (cheap springs cause frustrating drift during video calls).
Step 3: Calibrate Software to Your Hardware
Now align software with your physical setup:
- In Zoom/Teams: Disable "stretch to fill" under video settings
- Set display scaling to 100% for shared content (no "best fit")
- Enable "Original Aspect Ratio" for screen sharing
- Install platform-specific plugins like ClearView for frame-accurate playback
For color-critical work, calibrate your monitor's hardware LUT (not just software settings) to maintain accuracy when sharing designs. Most creative professionals don't realize software calibration alone distorts when content gets compressed for streaming.
Step 4: Test With Real Collaboration Scenarios
Don't trust default settings. Verify with:
- A 15-minute screen-sharing test where you read dense text
- Virtual whiteboard session with continuous annotation
- Video call while referencing shared documents
Notice where you lean, squint, or adjust posture. True optimization happens when you forget your setup exists (when your hardware and software fade into the background of productive work).
Solutions for Common Collaboration Scenarios
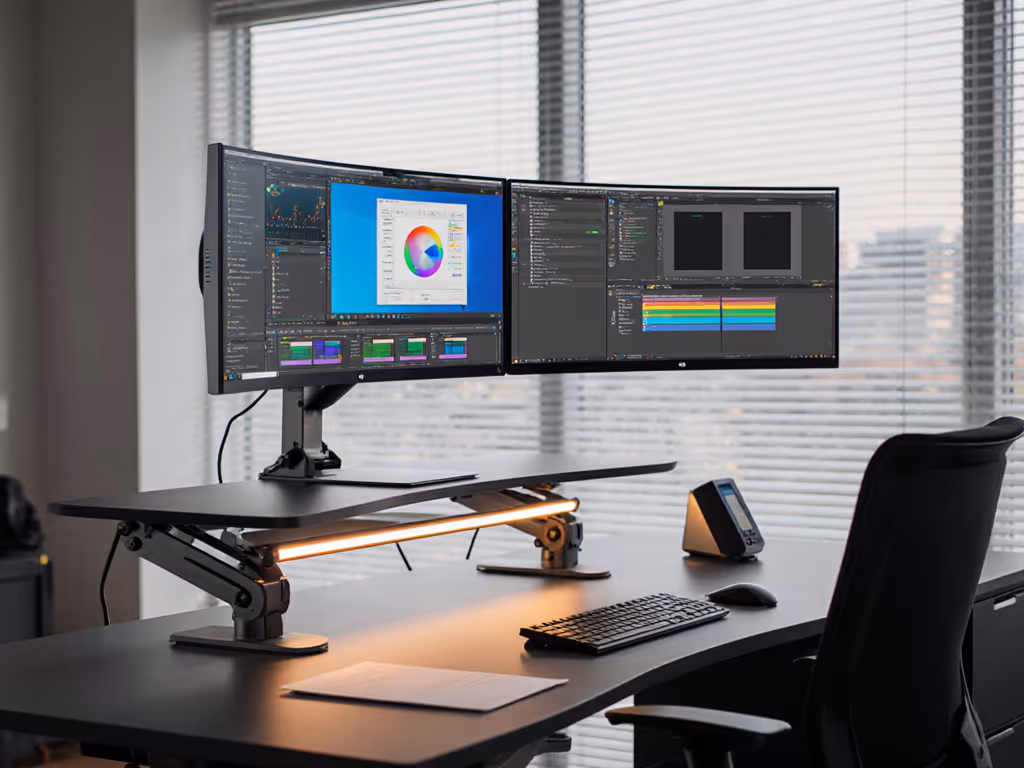
For Document-Centric Teams
Knowledge workers juggling multiple PDFs need:
- Two 24-27" monitors at 100% scaling
- Vertical orientation for long documents (reduces scrolling)
- Hardware KVM switches to toggle between work/personal computers
Position primary screen 50-60cm away, close enough for comfortable reading without leaning. For vertical setups, our portrait monitor mounts guide covers rotation stability and best-in-class mechanisms. Secondary monitor should sit at the edge of your central vision field (about 35 degrees off-center) to minimize head turning. To switch seamlessly between laptop and desktop, follow our KVM switch setup guide.
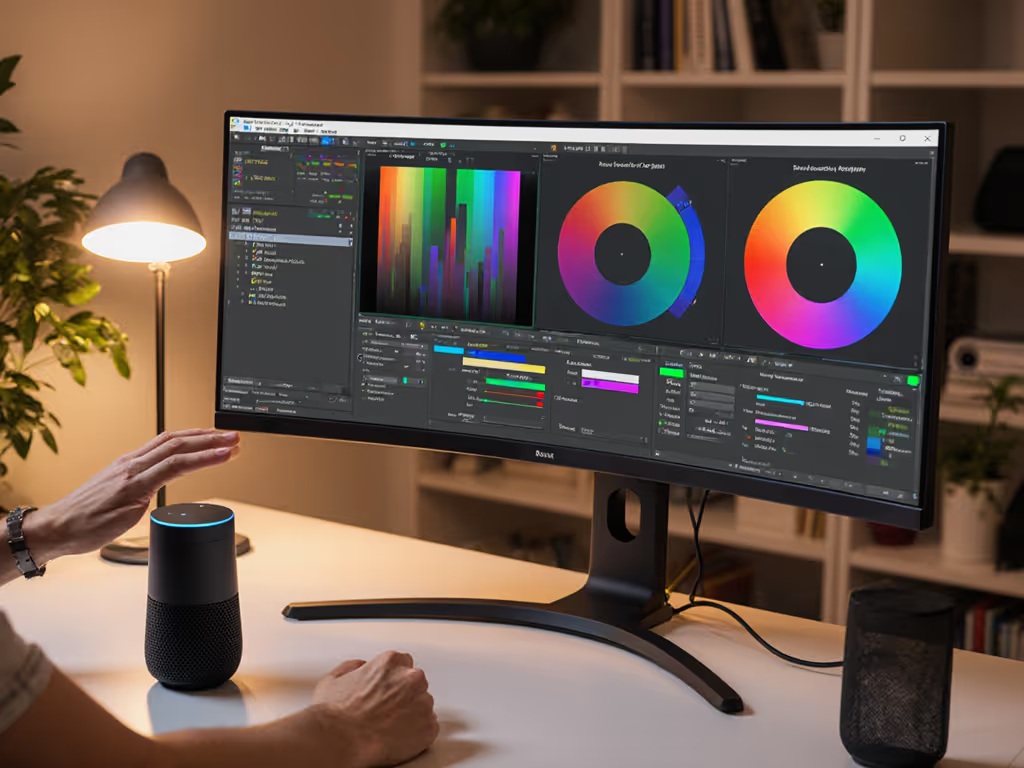
For Creative Professionals
Designers and video editors require color-accurate virtual whiteboard monitor setups:
- Calibrated monitor with hardware LUT
- Ambient light sensor to auto-adjust brightness
- Separate "review" monitor at meeting distance (120-150cm)
That far monitor mimics how clients view your work in presentations. Most professionals only optimize their primary screen, causing unpleasant surprises when clients comment on "washed out" colors during remote reviews.
For Hybrid Meeting Rooms
When your home office doubles as meeting space:
- Position main monitor at seated eye level
- Add secondary display below for participant thumbnails
- Use monitor risers with cable channels to hide webcams/soundbars
This configuration keeps your gaze aligned with the camera during screen sharing (no more "looking down" on participants). The secondary display stays in your peripheral vision, avoiding disruptive head turns during collaboration.
Your Actionable Next Step
Today: Measure your current monitor position against your natural gaze zone. Sit normally, close eyes, open them, and mark where you're looking. Is your screen's top third hitting that point? If not, adjust height before your next meeting. This single change compounds (better posture means sustained attention during long collaborations). Remember, no software update fixes physics. Start with your body, not your browser. Comfort is a performance spec that repays itself daily in focus and accuracy. When you prioritize ergonomics, you're not just setting up a monitor, you're optimizing your most valuable asset: your attention.
Related Articles