Monitor Mounts by OS: Windows, macOS, Linux
By Ravi Patel • 19th Mar
When you're shopping for a monitor mount, the pressure to choose feels immediate: weight capacity, VESA compatibility, clamp compatibility, price. What often gets overlooked, however, is that your operating system shapes what the mount will actually do once it's bolted to your desk. A mechanical arm that works flawlessly on Windows may create hidden friction on macOS or Linux, not because the mount is defective, but because the OS itself has different display management assumptions built in. Understanding these constraints upfront transforms mount selection from a guessing game into a cross-platform monitor compatibility strategy that pays dividends for years.
I learned this the hard way. Years ago, I saved money on a bargain arm for a midweight 27-inch (same VESA pattern, same price as more expensive alternatives). Three months in, the tilt joint drifted. Re-tightening the adjustment screw chewed up the head, and the arm became unreliable. That failure taught me to map price against hinge design, warranty terms, and how different OSes interact with multi-display setups. Spending slightly more for a mechanism engineered for durability has cost me far less ever since. The real lesson: buy for mechanisms, not marketing.
Why Operating Systems Matter for Monitor Mounts
On the surface, a monitor arm is just physics: leverage, pivot points, and load-bearing joints. But how you control that monitor, how multiple monitors sync, and what happens when you plug in peripherals are all operating-system decisions that affect mount utility.
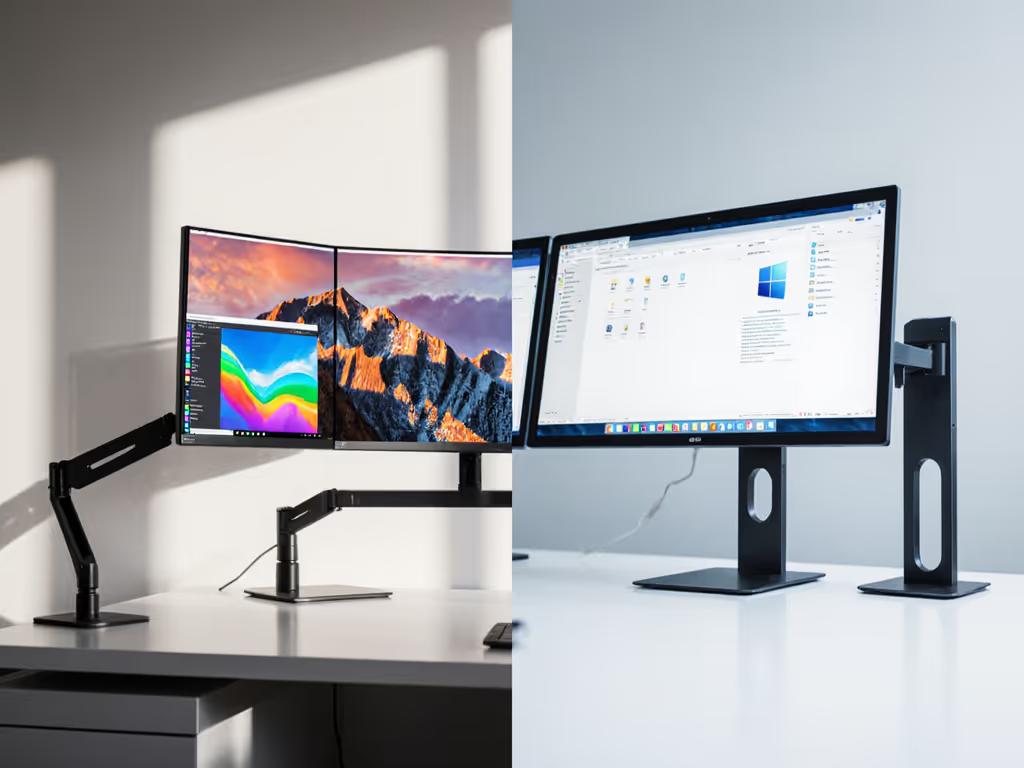
Windows systems expect you to daisy-chain multiple high-resolution displays and easily extend a desktop across them. It has native Multi-Stream Transport (MST) support over DisplayPort when your GPU can handle it.[1] macOS, by contrast, historically mirrored displays or used simpler single-monitor-per-port architectures, and MST for extended displays is not supported on Apple silicon or Intel Macs.[1] Linux sits somewhere in the middle: flexible display scaling, but fewer commercial mounting solutions designed specifically for Linux workflows.
These OS differences ripple down to what you need from your mount ecosystem. To map those differences to concrete hardware picks, see our OS-specific monitor mount guide. A Windows creative professional outfitting a three-monitor color-grading suite has totally different priorities than a macOS user running two Thunderbolt displays and a secondary USB-C monitor. And a Linux enthusiast building a gaming rig has yet another set of constraints.
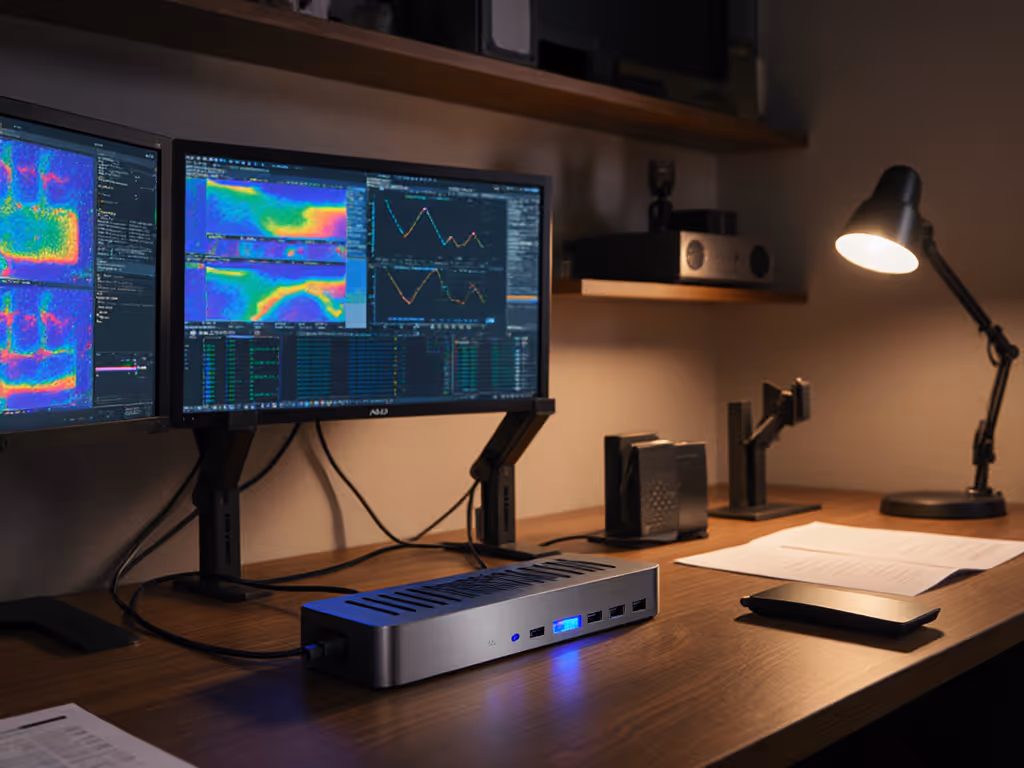
Windows: Native Multi-Display Muscle
Windows systems (whether desktop or laptop with DP 1.2 or higher over USB-C) natively support MST extended desktop configurations.[1] This means you can feed multiple monitors through a single video output using an MST hub, dramatically reducing cable clutter and GPU port demand.
For most Windows users, this translates into flexibility in mount placement. You're not locked into one monitor per dedicated port; you can route creative configurations through a single high-bandwidth output and a quality MST hub. The mount itself is agnostic to this, but the reason you chose that mount (say, a three-display articulating arm) suddenly becomes viable without requiring a multi-port docking station that drains your power budget.
Key considerations for Windows multi-monitor mounts:
- DSC (Display Stream Compression) support: If driving high-resolution monitors (dual or triple 4K at 60Hz), DSC support on both GPU and hub is essential to avoid resolution or refresh-rate throttling.[1]
- Port density on dock or GPU: While MST reduces physical port count, you still need DisplayPort Alt Mode and enough GPU lanes to handle the bandwidth.[1]
- Warranty alignment: Windows machines often change ownership or get refreshed faster than other platforms. Choose mounts with transferable warranties, not locked to a serial number or original buyer.
- Cable routing: Multi-monitor setups tend to accumulate power bricks and video cables. Arms with integrated cable management (clips, routing channels, not just drilled holes) save hours of tinkering over five years.
macOS: Thunderbolt-Centric and Single-Stream Bias
macOS diverges sharply from Windows on multi-display architecture. Extended displays via MST are not supported; any MST-connected displays on a Mac will mirror, not extend.[1] This limitation has shaped Apple's entire ecosystem around Thunderbolt and USB-C docking.
For Mac users, the real power lies in Thunderbolt bandwidth (40 Gbps on Thunderbolt 3/4) and the ability to run multiple independent displays through a single Thunderbolt dock. A KVM switch with Thunderbolt support, for instance, can drive dual 4K displays and share peripherals between a Mac and Windows machine. If you're planning multi-device control, our KVM switch setup guide walks through wiring and workflow tips. But only the Thunderbolt connection will unlock that dual-display potential on the Mac side.[3] Non-Thunderbolt USB-C alternatives often fall back to mirroring or single-display mode.
Key considerations for macOS multi-monitor mounts:
- Thunderbolt or USB-C with DSC: If you're running multiple high-res monitors on a Mac, Thunderbolt 3/4 docks (or USB-C docks with DSC) are essential, not optional. This shapes your dock selection, which in turn influences desk real estate and cable routing.
- Monitor positioning and port placement: Mac workstations often have limited desk depth (especially in smaller apartments or home offices). Choose arms that allow you to position monitors closer together or further back, maximizing viewable area without requiring additional desk space.
- Warranty and serviceability: Apple frequently updates macOS and GPU drivers. Select arms with a multi-year warranty that doesn't hinge on OS version. You don't want your mount failing when you upgrade to the next macOS.
- Integration with Apple's ecosystem: Some third-party arms market "Mac-compatible" positioning or bundled software. Verify these actually add value (e.g., automatic monitor configuration on sleep/wake) rather than just being marketing language.
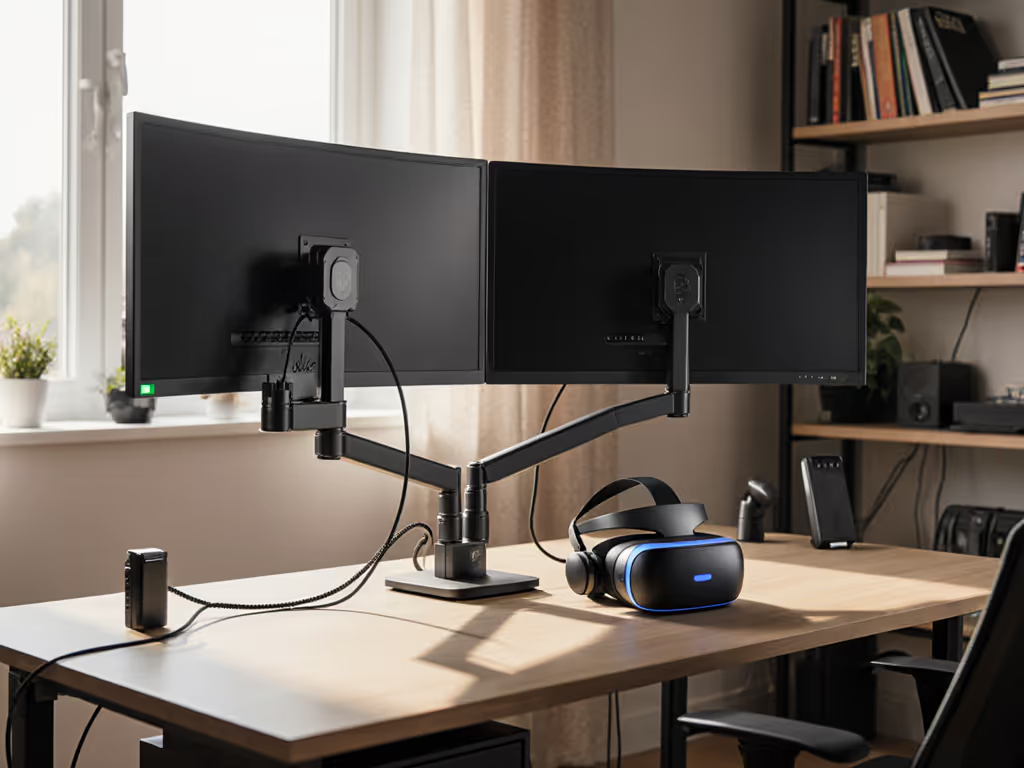
Linux: Maximum Flexibility, Minimal Commercial Support
Linux distros are famously modular and unopinionated about display management. X11, Wayland, and different desktop environments (GNOME, KDE, Xfce) all handle multi-monitor differently. This is a strength (Linux users have granular control) but a weakness in the consumer mounting market: very few commercial monitor arms are marketed specifically for Linux.
The upside is that any physically compatible arm works. If it mounts via VESA, it'll mount on Linux. The OS itself doesn't impose architectural limits like macOS's MST restriction or Windows's driver-dependent DSC requirements. A Linux workstation can drive multiple independent DisplayPort streams without Thunderbolt, without MST hubs, and without special docks.
Key considerations for Linux multi-monitor mounts:
- VESA compatibility: Standard mounting. Linux won't surprise you here: if the VESA pattern and weight capacity match, it works. Verify specs in the datasheet, not marketing photos.
- Cable standards: Linux users are often comfortable with DisplayPort and USB-C, but also still use HDMI and older adapters. Choose arms with routing channels that don't lock you into a single cable type.
- Workspace density: Linux users frequently run tiling window managers or maximize screen real estate. Arms that allow tight monitor spacing (or adjustable swivel angles) become more valuable here.
- Community and documentation: If troubleshooting arm positioning or ergonomics, Linux communities (Reddit, forum-based) are excellent. Avoid ultra-niche arms with no online documentation or user reports.
The Cross-Platform Trap: Choosing for Multiple Operating Systems
Many users (remote workers, freelancers, IT managers outfitting hybrid teams) run multiple OSes. A Windows gaming rig in the evening, a MacBook for client work in the morning. A Linux server next to a Windows machine. An office where some staff use Dell PCs and others use MacBook Airs.
When you're mounting for mixed OS environments, the temptation is to compromise on features, assuming "any arm will do." This is precisely where false economies emerge. Here's why:
Multi-OS setups amplify requirements, not reduce them. A monitor arm that mediocrely supports both Windows and macOS is worse than one optimized for one platform and clearly incompatible with the other, because you won't realize its weaknesses until you've already invested and are stuck.
Instead, map your actual workflow:
- Which OS owns the monitor 80% of the time? Optimize the mount for that platform's strengths and constraints.
- Does the mount need to move between systems, or is it stationary? If moving, prioritize mechanical durability and quick-release mechanisms (no tool adjustments required).
- Are you using KVMs or docks to share one monitor between OSes? If yes, ensure the arm doesn't obstruct cable routing from the dock or KVM to the monitor.
- Warranty terms across OS versions: Choose arms from vendors who offer multi-year warranties regardless of OS updates. Avoid OS-version-locked warranties.
The Mechanism Is the Message
Here's what matters: the hinge. The pivot. The tilt, swivel, and height-adjustment mechanism. Operating systems come and go, resolutions evolve, ports change standards. But a well-engineered ball joint, precision-machined pivot, and robust cable management system last.
When evaluating arms, ignore color finishes and cable-hiding gimmicks. For cable routing that actually reduces clutter, compare built-in vs external cable management options. Look at:
- Material composition: Aluminum or steel pivot points? Plastic or metal bushings? A $50 arm with plastic bushings will develop play within months. A $120 arm with precision ball bearings and stainless steel pivot points will still be rock-solid after five years. The price-to-performance ratio heavily favors durability mechanics.
- Ease of tightening: Can you adjust tilt, swivel, or pan tension with a single tool (or no tool at all)? Or does the design require a complex disassembly? Adjustments you can't easily maintain become sources of frustration.
- Warranty coverage for mechanisms: Some vendors exclude tilt-mechanism or swivel wear. Others replace the entire arm if any joint develops play. Read the warranty, not the marketing.
- Repairability: Can you order replacement parts (a new tilt head, a pivot bearing) or do you replace the entire arm? Vendors that stock parts and sell them directly offer better long-term value.
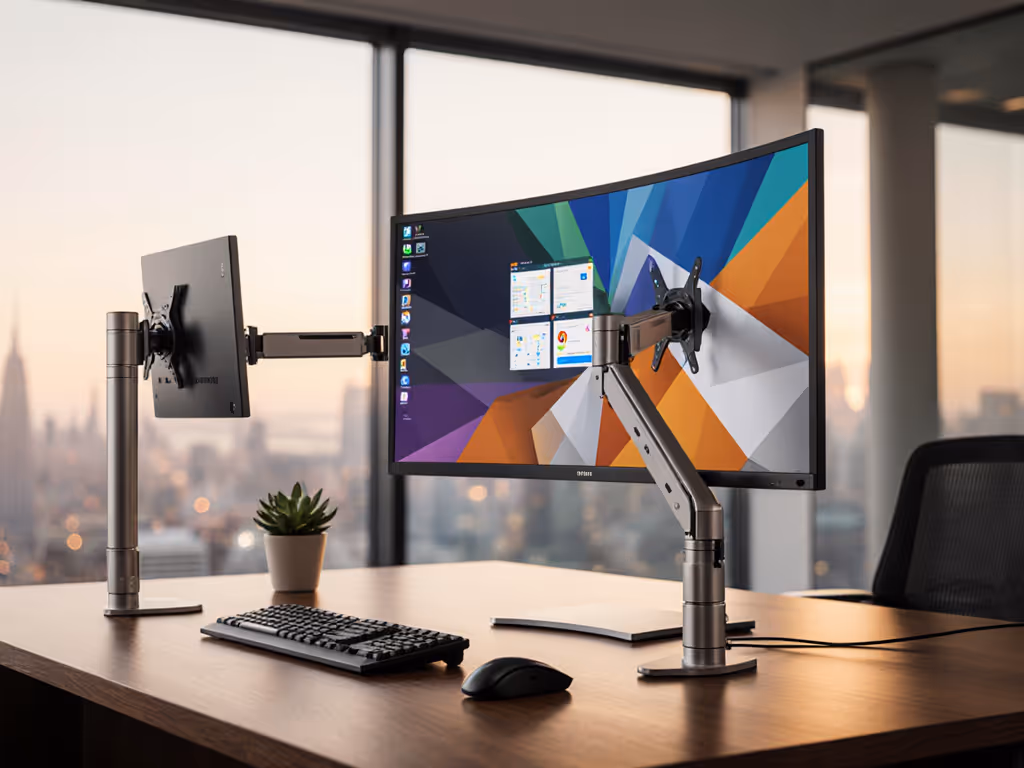
Modular Paths Forward: Building for the Future
The smartest cross-platform setups embrace modularity. Don't buy a three-monitor arm and assume it'll work forever. Instead:
- Choose universal VESA patterns (100x100, 75x75) over proprietary plates. This lets you swap monitor sizes and weights without replacing the arm.
- Standardize on dock connectivity: If running mixed OS, pick a docking standard (Thunderbolt for Mac, USB-C for flexibility) and stick with it. To future-proof cables and docks across platforms, read our USB-C monitor accessories guide. This prevents the trap of buying separate arms or adapters for each OS.
- Select arms with adjustable weight ratings: Some arms ship with different spring tensions. If your next monitor is heavier or lighter, you can swap springs or pivot bearings rather than buying a new arm.
- Verify future compatibility: When choosing an arm, ask the vendor: "If I add a second monitor in two years, can I buy an expansion bracket?" Vendors who plan for that sell modular ecosystems. Those who don't will force you to replace everything.
Putting It Together: A Scenario-Based Approach
Windows power user (creative, gaming, or development): Prioritize a three-display articulating arm with integrated cable management, DSC-capable dock, and a warranty that covers heavy use. Weight capacity should exceed your monitors' weight by 25% to handle adjustment wear. Budget $200-400 for the arm; this is where you pay once for the hinge you'll never think about.
macOS-primary user (single or dual display): Invest in a Thunderbolt dock with dual display support and a sturdy single or dual-monitor arm with clean swivel mechanics. Avoid marketing around "Mac optimization"; focus on mechanical quality and VESA universality. Budget $150-300 for the arm, and pair it with a Thunderbolt dock ($200-400) for true extended desktop capability.
Linux workstation builder or cross-platform IT shop: Choose VESA-universal arms with excellent cable routing, neutral aesthetics (they'll move between setups), and documented compatibility in online forums. Warranty matters less here (Linux communities repair and adapt), but mechanical longevity does. Budget $120-250 per arm; this ecosystem tolerates DIY adjustments well.
Navigating Warranty, Returns, and Buyer's Remorse
Monitor arms are heavy. Shipping them back is expensive and frustrating. This is why research and due diligence upfront save money and sanity.
Before purchasing:
- Measure your desk: VESA pattern, depth, clamp thickness, height range, weight of monitor(s).
- Verify OS support explicitly: Contact the vendor. Don't assume a "multi-OS" arm actually works on your specific machine.
- Check warranty scope: Does it cover tilt drift? Shipping on replacement? OS upgrades? All-inclusive warranties are red flags (often too good to be true) and extremely specific warranties are yellow flags (they're betting you won't need them).
- Read user reviews for mechanical drift: Not just star ratings. Search "[arm model] tilt drift" or "[arm model] swivel loosening." Real users report these issues within the first 30 days and at the 6-month mark. Those patterns are predictive.
Moving Forward: Assembling Your Setup
Monitor mounts are not sexy. They don't have RGB, they don't boost your frame rate, and they're invisible when they work well. That's the point. A mount you never think about is exactly what you want: solid, stable, adjustable, and durable enough that your next OS upgrade doesn't require a hardware refresh.
As you evaluate options, remember that operating systems shape the context of your mounting choice (the dock you use, the cables you run, the displays you can daisy-chain). But the mechanism transcends that context. A precision pivot is a precision pivot on Windows, macOS, or Linux.
Start by answering three questions: (1) Which OS owns most of your workflow? (2) How many monitors do you actually need to extend, not mirror? (3) What's the worst mechanical failure you've experienced with desk gear before? That last answer predicts where you should invest.
Then prioritize durability over cost. Warranties matter. Repairability matters. Adjustability matters. Cable management that doesn't trap wires in moving joints matters. The cheapest setup is the one you don't replace. Buy for the hinge, not the hype, whether your screen runs Windows, macOS, or Linux.
Further Exploration
As you refine your cross-platform setup, consider:
- Researching VESA mount compatibility databases from monitor manufacturers (Dell, LG, ASUS) to confirm your specific model works with candidate arms.
- Joining OS-specific subreddits or forums (r/macsetups, r/battlestations, Linux desktop communities) to see real-world multi-monitor configurations and failure reports.
- Testing arm adjustments in-store if possible, paying special attention to tilt and swivel resistance. If an arm feels loose or "notchy," that's mechanical wear or poor design. Both will worsen.
- Comparing warranty terms side-by-side across your top three candidates, focusing on coverage for drift, replacement parts, and non-transferable vs. lifetime coverage.
- Auditing your cable ecosystem (USB-C, Thunderbolt, DisplayPort versions) against your dock and GPU capabilities to ensure DSC or MST support is present where needed.
The setup that survives OS changes, monitor upgrades, and apartment moves is the one built on verified compatibility, modular design, and mechanisms chosen for permanence. That's the calculus that wins over time.
Related Articles