Today's top health monitoring monitor accessories do far more than just hold your screen, and they're becoming active partners in your wellness journey. As we spend more time at our desks, the humble monitor stand has evolved into a posture tracking monitor stand that can integrate with biometric sensors and health analytics systems. Yet for every breakthrough, there's still the universal frustration: buying hardware that should work with your setup, only to discover it's incompatible with your monitor, desk, or health ecosystem. I've been there. My most expensive "free" mistake involved three return shipments because my monitor arm couldn't handle the weight of my curved display, the power budget was insufficient for my biometric sensors, and the cable clearance didn't match my desk height. Let's fix that cycle together.
Why Your Monitor Arm Matters for Health
We've all experienced that nagging neck pain after a long work session or the eye strain that creeps up by 3 PM. Traditional monitor stands simply position your screen, but they don't actively contribute to your wellbeing. But 2025's best monitor solutions change this paradigm by integrating with ergonomic biometric sensors that track your posture, movement, and even stress indicators.
Start with a preflight, end with a first-time fit that supports both your productivity and health metrics.
The magic happens when your monitor arm isn't just holding weight, but contributing data to your wellness picture. Imagine a system that gently alerts you when you've been hunched over for 20 minutes, or subtly adjusts your screen height as fatigue sets in. These aren't sci-fi concepts: they're real features in today's wellness-focused monitor accessories.
Anatomy of a Health-Tracking Monitor Setup
Before diving into specific products, let's break down what makes a monitor arm qualify as "health-tracking" rather than just "ergonomic":
Integrated sensor compatibility - Space and mounting points for biometric sensors
Adjustment precision - Fine-tuned height, tilt, and swivel controls for personalized ergonomics
Data pathway - Connectivity options to feed posture/movement data to analytics apps
Weight capacity with margin - Extra headroom to accommodate future sensor additions
Clearance engineering - Designed with cable management for health devices
Without these elements, you're just getting a basic mount, not a health analytics monitor setup that actively contributes to your wellbeing.
The Pre-Flight Checklist: Your Path to Perfect Fit
Confidence comes from measurement, not guesswork. Before you click "buy" on any monitor arm, complete this five-minute preflight. My years of helping people avoid returns have shown me that most compatibility issues stem from skipping these simple verification steps.
Measure Your Monitor and Desk
Don't assume your monitor follows standard patterns: verify everything:
Exact dimensions: Measure your monitor's width, height, and depth (including stand base if present)
Weight: Place it on a precision scale (curved and ultrawide panels often weigh significantly more than specs suggest)
VESA pattern: Physically measure the screw holes (50x50mm, 75x75mm, 100x100mm, 200x100mm)
Desk constraints: Measure your desk's thickness, clamp space, and overhang
Clearance requirements: Account for any keyboard trays, standing desk mechanisms, or under-desk storage
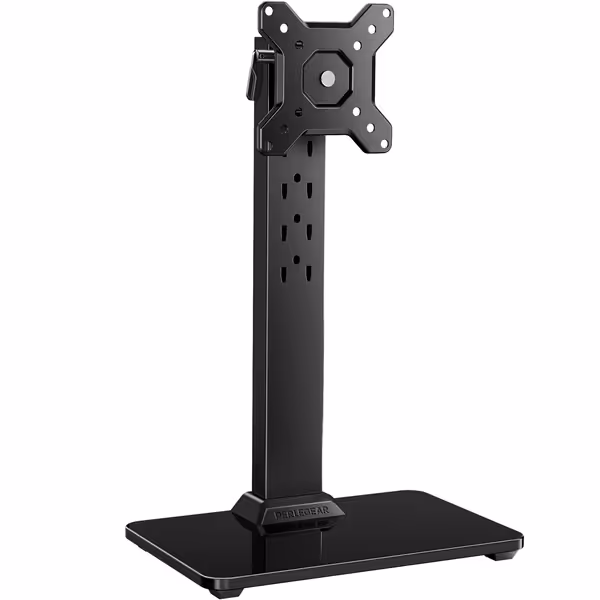
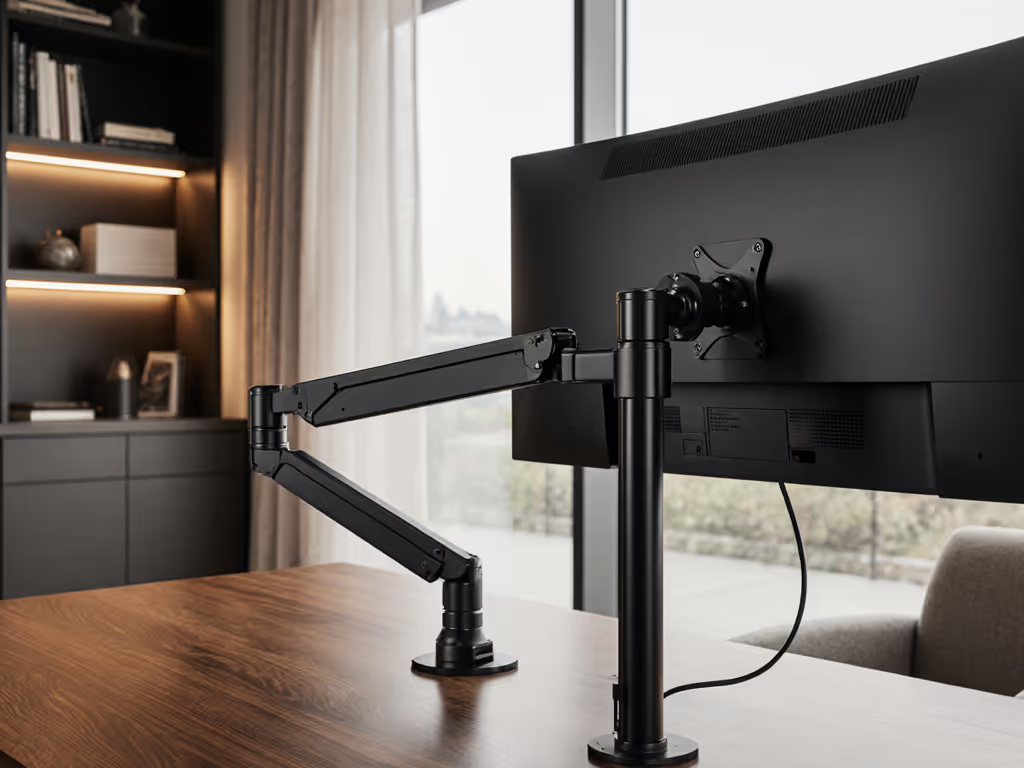
Perlegear Freestanding Monitor Mount
Stable, ergonomic monitor stand for enhanced viewing and desk organization.
This goes beyond basic ergonomics. Determine what health tracking you want to integrate:
Posture sensors: Do you need mounting points for small cameras or ultrasonic sensors?
Biometric inputs: Will you add heart rate monitors that need power/data routing through the arm?
Future expansion: Leave 20% extra weight capacity for future health sensors
Cable pathways: Verify space for additional sensor cables without compromising aesthetics
The Perlegear stand mentioned above includes cable management clips specifically designed for clean routing of multiple data and power cables, essential when building a health analytics monitor setup with multiple sensors.
Verify Power and Port Requirements
Health-tracking monitor arms often need to support more than just video signals:
Power budget: Calculate total wattage for all components (monitor + sensors + lighting)
Port mapping: Identify which ports handle what (don't assume your docking station can power everything)
Display connection: Confirm HDMI 2.1/DP 2.0 compatibility if using high-refresh health dashboards
Data pathways: Check if your setup needs separate USB channels for health sensors
I've seen too many setups fail because the monitor arm's cable management couldn't accommodate the extra sensor wiring, forcing people to choose between clean aesthetics and health tracking functionality. See how built-in vs external cable management solutions compare for complex sensor wiring.
Check Clearance and Space Requirements
This is where most "one-and-done" purchases fail. Don't just measure your monitor's dimensions: measure your movements: If you're also deciding how to mount, compare clamp vs grommet vs bolt mounts to match your desk thickness and cutouts.
Range of motion: How far do you need the screen to move for collaborative work?
Sensor sightlines: Ensure any posture cameras have clear views of your shoulders and neck
Standing desk integration: Test full height range with your specific desk model
Future-proofing: Account for possible monitor upgrades to larger or curved displays
Building Your Health-Tracking Monitor Ecosystem
Now that you've completed your preflight, let's build a system that actually works for your health goals. Here's my step-by-step workflow that ensures first-time fit success:
Step 1: Anchor with Your Monitor
Your monitor is the foundation, and everything else must work with it. Even if you're planning health sensors, start here:
Verify your monitor's exact VESA pattern (don't trust manufacturer specs alone)
Weigh it with all accessories attached (webcam, soundbar, etc.)
Measure center of gravity, especially important for curved displays
Step 2: Layer in Health Components
Add health tracking elements systematically:
Posture sensors: Choose models that integrate with your existing health apps
Biometric inputs: Consider non-intrusive options like under-desk mats or armrest sensors
Visual feedback: Some advanced arms include subtle LED indicators for posture correction
Step 3: Calculate Your Complete Load
This is where most people fail: they optimize for the monitor but forget the health ecosystem:
Add weight of all sensors and accessories
Account for off-center weight distribution (critical for posture sensors mounted on arms)
Verify 20% headroom beyond your maximum expected load
Step 4: Map Your Data Pathways
Health tracking requires more than just video signals: map your complete ecosystem:
Identify which sensors need direct USB connections
Plan cable routing through your monitor arm
Verify compatibility between health apps and your computer's OS
The Perlegear monitor stand shines here with its thoughtful cable management system designed for multiple cable types, making it a solid foundation for your health tracking ecosystem rather than just a passive support structure.
Why Most Health-Tracking Setups Fail
After reviewing hundreds of setups, I've found three universal failure points:
Overlooking sensor clearance: Posture cameras need unobstructed views, but many monitor arms block optimal mounting positions
Underestimating cable complexity: Health sensors add multiple data and power cables that standard arms don't accommodate
Ignoring weight distribution: Small sensors seem light, but when mounted away from the arm's pivot point, they create significant torque
These issues lead to the worst outcome: returning expensive equipment that should have worked. Remember, confidence comes from measurement, not from marketing claims. Choosing the right arm mechanism helps too—see our gas spring vs counterbalance guide to prevent sagging under dynamic loads.
Your Action Plan for a Successful Setup
Ready to transform your workspace into a health-tracking hub? Follow these steps:
Measure everything: don't trust specs alone; use calipers for VESA patterns
Calculate your total system weight including all health sensors
Verify clearance requirements for both your monitor and sensors
Map your data pathways before purchasing any hardware
Start with your monitor and build outward to ensure compatibility
Final Thoughts: Beyond Ergonomics
The best monitor arms of 2025 don't just position your screen, they actively contribute to your health picture. But technology only helps when it works seamlessly with your unique setup. That's why I always say: Start with a preflight, end with a first-time fit that supports not just your productivity, but your wellbeing.
Your health tracking setup shouldn't require constant troubleshooting. When you approach it methodically, with precise measurements and clear compatibility verification, you create a workspace that works for you, not against you. Take those five minutes now to prevent weeks of frustration later.
Start with a preflight, end with a health-tracking monitor setup that feels like magic, because it's measured.
Related Articles
Mounts, Arms & Stands: Comparisons and Installation Methods
Learn how to mount transparent displays on glass safely with structural checks, thermal/vibration allowances, and tiered systems that prevent costly failures.
Choose mounts that prevent drift, support dual setups and Stream Decks; learn specs, warranty traps, and picks that stabilize framing in OBS and cut downtime.
Choose modular monitor arms with serviceable hinges and flexible mounts to cut replacement cycles, support upgrades, and protect ergonomics and ROI over years.