Monitor Eye Health Accessories That Reduce Strain
By Sofia Jimenez • 19th Nov

When your eyes burn after hours at the screen, it's not just fatigue, it's your workspace shouting for help. Choosing the right monitor eye health accessories transforms your desk from a strain factory to a sanctuary. Forget generic advice; we're tackling eye strain reduction in your monitor setup with precision tools that actually fit your real-world desk. Because I've seen how a $200 monitor becomes a $600 headache when you skip the five-minute preflight. Start with a preflight, end with a first-time fit.
Why Your Monitor Setup Is Secretly Sabotaging Your Vision
Digital eye strain isn't "just part of the job." It's your monitor fighting your workspace: glare from overhead lights, screens too low forcing neck craning, or blue light disrupting your circadian rhythm. But here's the fix: you don't need to guess. You need measurements. My most expensive lessons came free: shipping three returns because I assumed a monitor arm would fit my curved display. A dock underpowered my 144Hz panel, the arm clipped my shelf, and the DP cable didn't support the refresh rate. Now I preflight every upgrade (power, ports, clearances), so you never ship a single return.
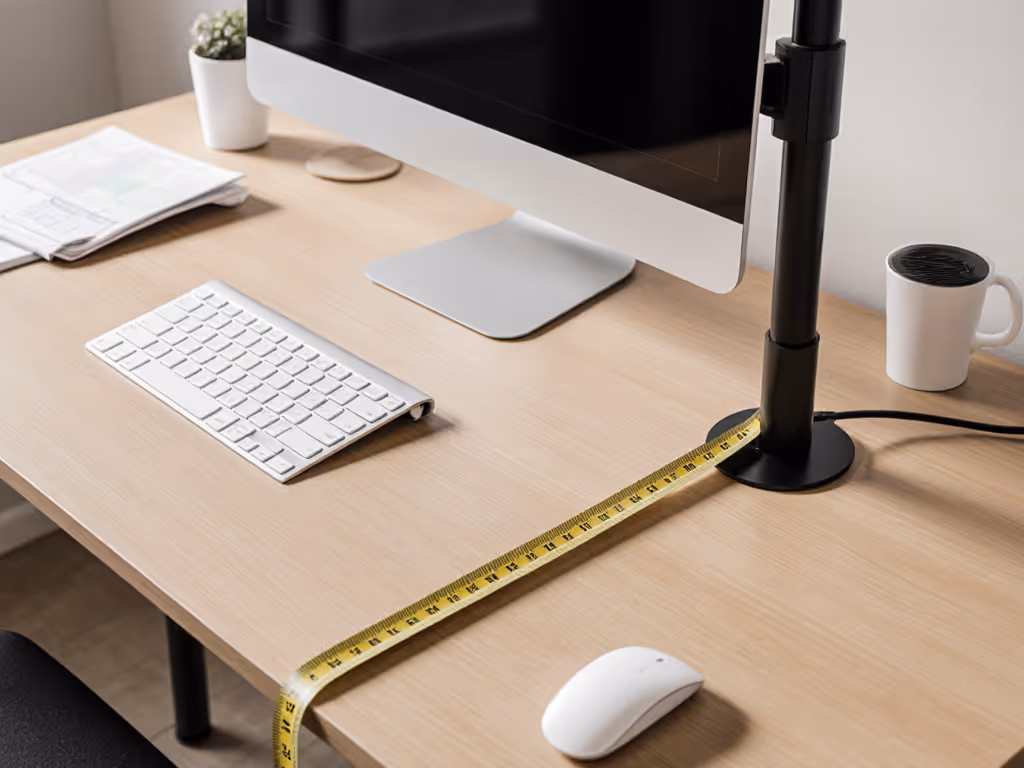
Step 1: Measure Your Foundation (The 20-Second Desk Audit)
Before buying anything, verify your physical constraints. For exact positioning fundamentals that prevent neck and eye strain, see our ergonomic monitor height guide. This prevents 80% of eye strain because most comes from poor monitor positioning for eye health.
Pro Tip: Stand up straight. Your eyes should land 2 inches below the monitor's top edge. If you're looking up or down, strain is inevitable.
Checklist: Your Positioning Preflight
- Height Check: Measure eye level seated (e.g., 42"). Subtract 2" = ideal monitor height (40").
- Distance Test: Fist-to-chin distance = optimal screen distance (typically 20-30").
- Clearance Scan: Note desk depth, cable ports, and shelf obstructions within 6" of your monitor.
Why this works: A monitor riser isn't just "nice to have." FluidStance's data confirms raising screens to eye level reduces neck strain by 40%. But if your desk is shallow (under 24"), a bulky riser pushes you too far back, ruining ergonomics. Measure first.
Step 2: Tame Ambient Light (The Glare Killer)
Overhead lights or windows create contrast stress: your eyes constantly adjust between bright screens and dark rooms. This is where visual comfort accessories shine. Forget cheap clip-ons that block your webcam; you need precision lighting that adapts.
Your Lighting Preflight
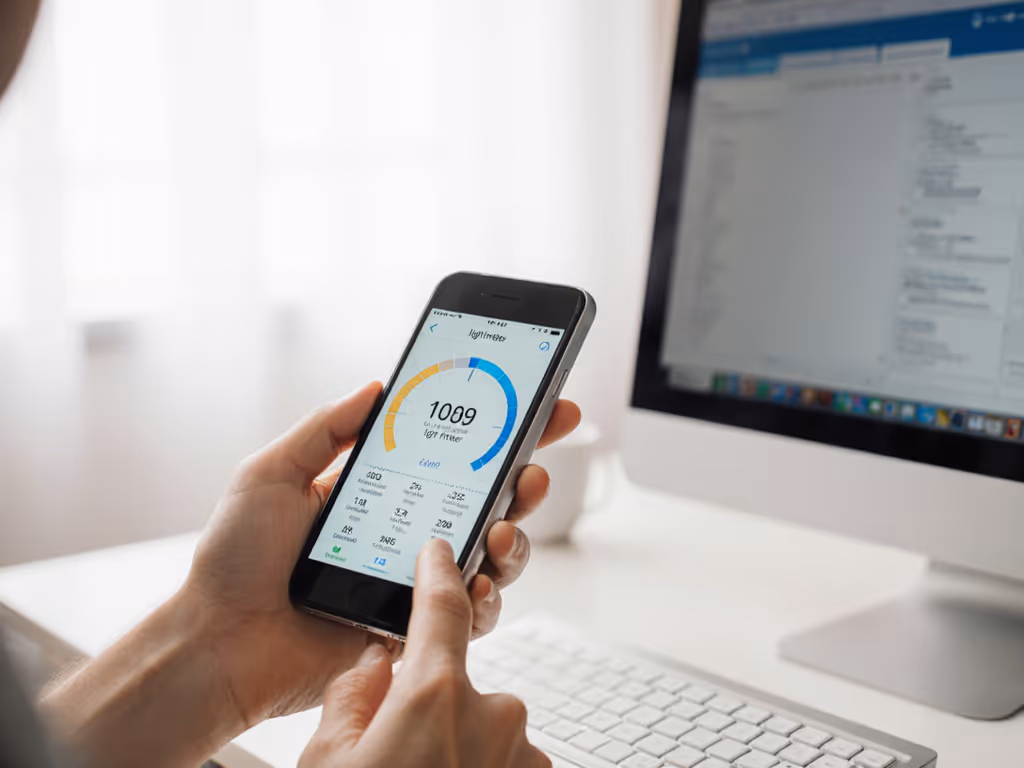
- Glare Test: Sit in your usual spot at 3 PM. Note reflections on screen.
- Ambient Read: Use your phone's light sensor app (many free options). Under 100 lux? You're in "digital eye strain zone." Learn how monitor bias lighting reduces strain and improves contrast in real setups.
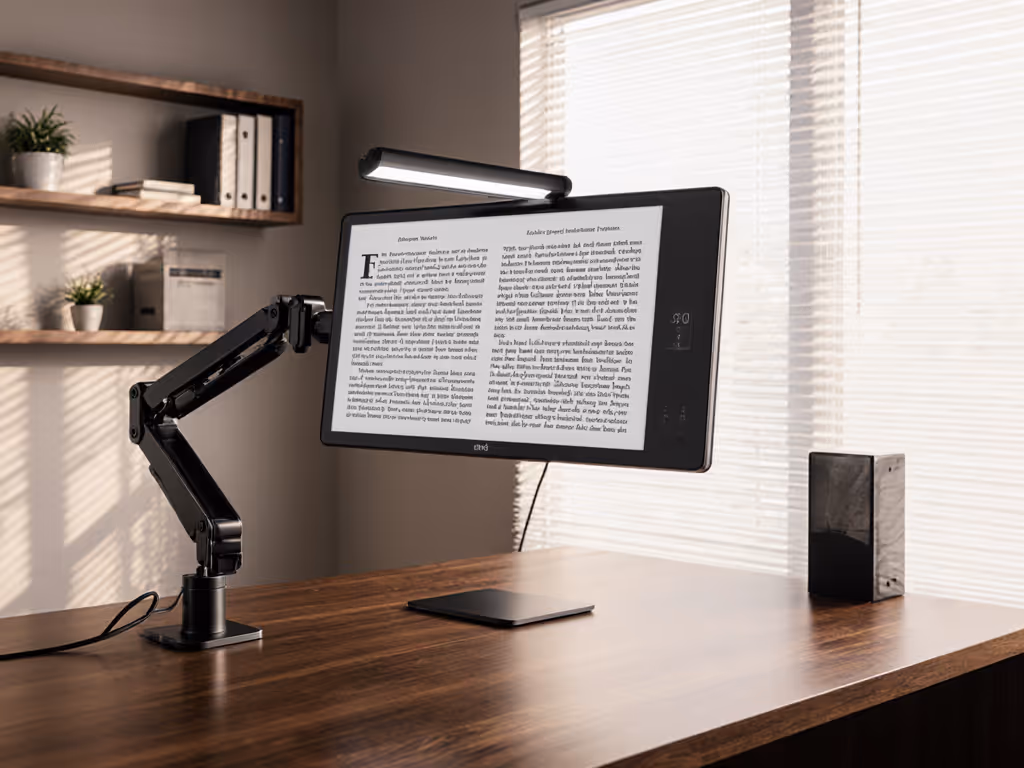
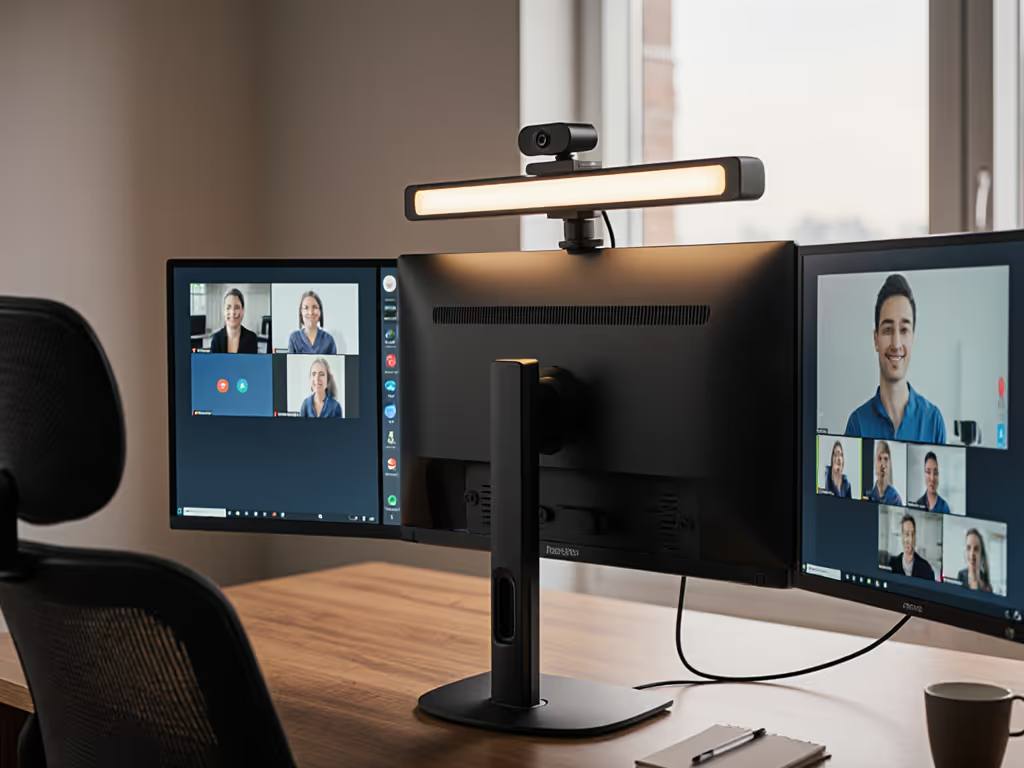
A monitor light bar like BenQ's ScreenBar Halo 2 solves this with asymmetrical optics that never glare on screens, as proven by ANSI lighting standards. Its rear backlight balances room contrast while the front light illuminates your keyboard. But check compatibility: it fits monitors 0.17" to 2.36" thick and curves from 1000R to 1800R. Measure your screen's top edge thickness first, many ultrawides exceed 2".
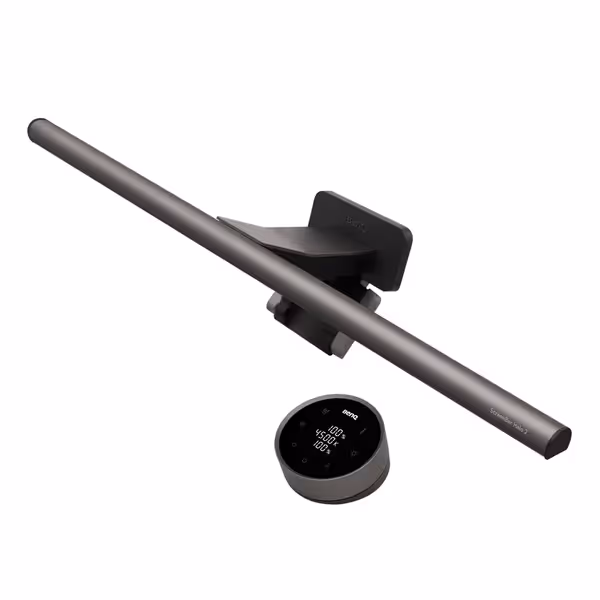
BenQ ScreenBar Halo 2
Eye-care light bar with backlight for ultimate visual comfort.
$179
Monitor Thickness0.17"-2.36" (Up to 1800R curved)
Monitor Thickness0.17"-2.36" (Up to 1800R curved)
Pros
Reduces eye strain with glare-free front and adjustable backlighting.
Wireless controller for easy brightness and color adjustments.
Auto on/off and "My Favorite" settings streamline use.
Cons
Higher price point than basic light bars.
Customers find the monitor light bar provides ample illumination and can be easily adjusted, with one noting it works well in dark rooms. The product is well-made, sleek, and easy to install, with minimal glare on the screen itself. They appreciate its functionality, with one mentioning it automatically turns on when needed. While some customers consider it worth the money, others find it expensive.
Customers find the monitor light bar provides ample illumination and can be easily adjusted, with one noting it works well in dark rooms. The product is well-made, sleek, and easy to install, with minimal glare on the screen itself. They appreciate its functionality, with one mentioning it automatically turns on when needed. While some customers consider it worth the money, others find it expensive.
Step 3: Filter Blue Light Strategically (No More Guesswork)
Not all "blue light filters" are equal. Cheap monitor stickers often yellow your display. Built-in OS modes (like Night Light) only reduce some blue wavelengths. For true blue light monitor filters, you need three-layer protection:
- Hardware-Level: Eye-care monitors (like ViewSonic's XG series) bake in flicker-free panels and low-blue-light modes that don't wash out colors.
- Accessory-Level: Computer glasses with selective blue blocking (e.g., Zenni's office lenses) target only high-energy visible (HEV) light.
- Behavior-Level: Set your monitor's brightness to match ambient light, never brighter than your surroundings.
The Filter Preflight
- Test Your Screen: Open a bright white doc. If it "hurts" to look at, brightness is too high.
- Check Blue Spectrum: Use a prism app to see if your filter reduces only 415 to 455 nm wavelengths (the harmful ones).
Critical: Gaming monitors need dynamic filtering. The ViewSonic XG2736-2K uses Brightness Intelligence to auto-adjust (from cool white for esports to warm tones for night sessions) without color shift. No more manual toggling.
Step 4: Optimize Monitor Settings Like a Pro
Most buyers stop at "install and forget." But anti-fatigue monitor solutions require calibration. Factory settings often max out brightness, causing pupil fatigue.
The 5-Minute Calibration Preflight
- Brightness: Set to 30% in daylight, 15% in dark rooms (use your phone's sensor as reference).
- Color Temp: 6500K for work, 5000K for gaming, never 9300K (that "crisp" setting strains eyes).
- Refresh Rate: Match to your GPU's capability (e.g., 144Hz for smooth motion).
- Text Size: Ensure body text is 2-3x smaller than your thumbnail.
BenQ's Visual Optimizer automates this with ambient light sensors, but always verify. I once saw a client's "eye-care" monitor stuck at 100% brightness because their USB-C dock didn't support DDC/CI commands. Measure output with a light meter app.
Step 5: Verify Your Full Workflow (The Zero-Regret Check)
This is where most setups fail. You tested components, but not the system. Does your light bar cast shadows when the monitor tilts? If your display sags or won't hold position, follow our monitor arm maintenance guide to adjust tension correctly. Does the blue filter work during console mode?
The Final Preflight Checklist
- Cable Test: Run all intended devices (PC + console) for 15 mins. Check for flicker or disconnects.
- Posture Check: Sit normally. Can you see the entire screen without moving your head?
- Glare Re-Test: View at 9 AM, 1 PM, and 7 PM. Adjust light bar or monitor angle if needed.
Start With Measurement, End With Relief
Your eyes deserve more than Band-Aid fixes. By preflighting every accessory (measuring desk clearances, verifying light compatibility, and calibrating settings), you transform eye strain from inevitable to avoidable. I built this workflow after shipping three returns in one week. Today, my clients nail setups on the first try because they start with a preflight, end with a first-time fit.
Your Action Today: Grab a tape measure and light meter app. In 5 minutes, map your desk's height, depth, and ambient light. Then visit BenQ's compatibility checker for monitor light bars. That's how you prevent strain before it starts.
Related Articles