Complementary Monitor Lighting Accessories: Setup Guide
By Sofia Jimenez • 23rd Feb
Getting monitor lighting accessories right means measuring twice and installing once. Whether you're adding a complementary monitor lighting solution to your desk or overhauling your workspace, the difference between a first-time fit and a return is five minutes of preflight work: checking your monitor's physical constraints, calculating power availability, and mapping port locations before you open a box.
I learned this the hard way. A few years back, I shipped three returns in a single month. The monitor light I chose glared on a curved screen I'd forgotten to verify. The mounting arm scraped my shelf because I never measured clearance. The cable was the wrong DisplayPort spec. Each mistake cost time, shipping fees, and frustration. Now I start with a preflight: monitor specs, desk geometry, power budget, and accessory compatibility. That's how first-time fits became the norm instead of the exception.
Why Complementary Lighting Matters More Than You Think
Monitor lights aren't luxuries (they're ergonomic infrastructure). A well-lit desk reduces eye strain, improves focus, and makes long work sessions sustainable. But adding ambient lighting for monitors without understanding your setup invites the same compatibility traps that plague monitor arms, docks, and cables. A light bar that doesn't fit your monitor's top edge, that consumes power your USB port can't deliver, or that casts glare on a curved screen is a return waiting to happen.
The goal here is clarity: know your constraints before you buy, and measure once properly, install once.
Step 1: Audit Your Monitor's Physical Profile
Before any lighting accessory enters your desk, you need three measurements and two confirmations.
Your preflight checklist:
- Monitor top edge width and thickness. Measure the horizontal distance across the monitor's top and the depth of the bezel where a light bar would rest. Light bars designed for flat panels won't grip curved monitors evenly; if your screen curves, you'll need a complementary light bar engineered for that curvature.
- Top-center obstruction-free zone. Check whether your monitor's camera, speaker, or sensor sits on the top edge. A light bar that blocks your webcam defeats its purpose and wastes desk real estate.
- VESA pattern or mounting surface. Some monitors have standard VESA mounting points on the back; others don't. This determines whether you can use universal arms or adapter plates if you later want to combine lighting with a monitor riser or arm.
- Screen type: flat or curved. This is non-negotiable. Flat-panel light solutions won't clamp securely to a curved display and may not illuminate evenly. Curved-monitor lighting accessories are shaped to match the screen's arc.
- Existing desk depth. Measure the distance from the monitor's back to your desk edge or wall. A light bar extends the monitor's footprint slightly; confirm you have clearance for cables and adjustments.
Write these numbers down. This is your compatibility baseline.
Step 2: Map Your Power Budget and Port Availability
Ambitious lighting setups fail silently when power runs out. Most monitor light bar solutions draw power via USB (usually a single USB-A or USB-C connection). Before you commit, verify where that power comes from and whether your desk can spare the amperage.
Power preflight:
- Count your available USB ports. How many USB-A or USB-C ports does your monitor or computer have? If your monitor has USB hubs on the side or back, great (those are often dedicated power sources). If you're drawing from your laptop's limited USB-C port, you're competing for bandwidth and power with your dock, keyboard, or external drives.
- Check your power strip headroom. How many devices are already plugged in? A typical monitor light draws 3-5 watts and connects via USB, so it's often zero-friction. But if you're powering multiple accessories (dock, speakers, webcam arm, cable lighting), calculate total watts before adding another draw.
- Confirm USB version compatibility. Modern light bars often support USB 3.0, USB-C, or both. Verify that the cable your light bar ships with matches your available ports. A USB-C-only light connected to a USB-A port requires an adapter, adding clutter and potential failure points. If you're upgrading soon, see our USB-C monitor accessories guide so your lighting and hubs stay plug-and-play.
If your power headroom is tight, note it. You may need a powered USB hub or a secondary power strip (both legitimate solutions if they're part of your initial plan).
Step 3: Choose Lighting Type by Your Workflow
Not all color accuracy lighting solutions are the same. Your choice depends on what you do at your desk.
Daytime productivity and coding: Cool, neutral white light (4500-6500K) reduces eye fatigue during long focus work. Adjustable brightness is essential; you want to dim the light as ambient sunlight fades or brighten it on overcast days.
Evening and creative work: Warm light (2700-3500K) is easier on the eyes during non-standard hours and is especially important if your desk is in your bedroom or living area. Many people find that warm lighting in the evening supports better sleep cycles.
Color-critical tasks (photo editing, graphic design, video grading): You need neutral, flicker-free illumination that doesn't introduce color casts into your perception. A monitor light with adjustable color temperature and a wide dimming range (ideally 10-100% brightness) allows you to fine-tune the environment to match your monitor's calibration.
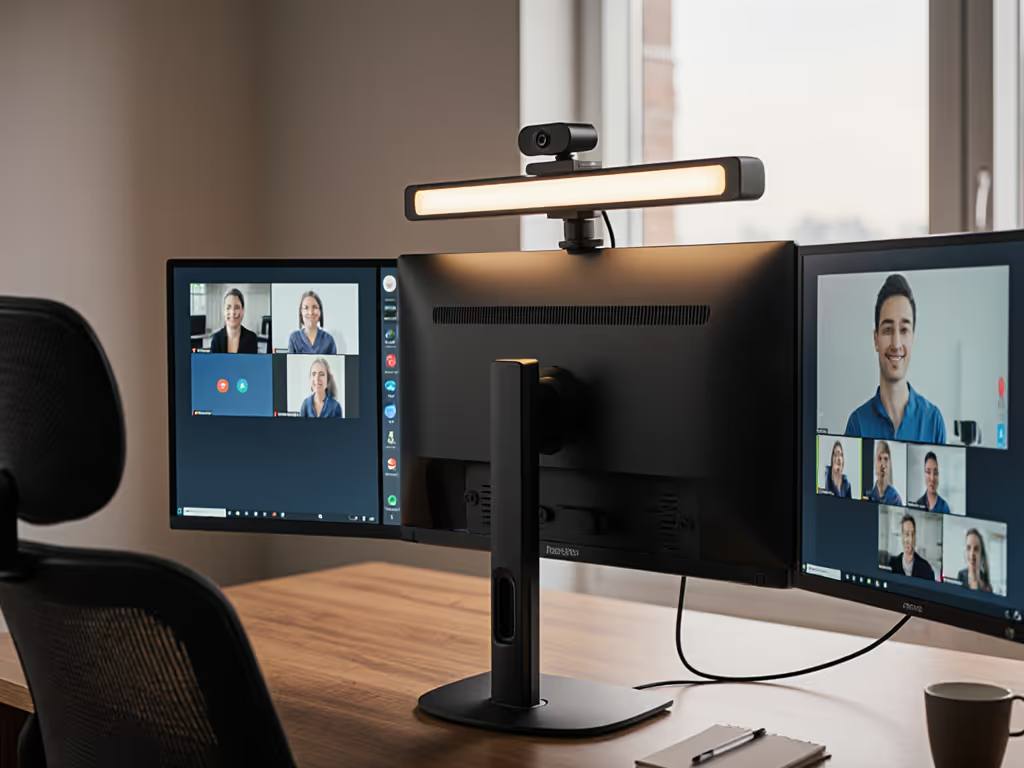
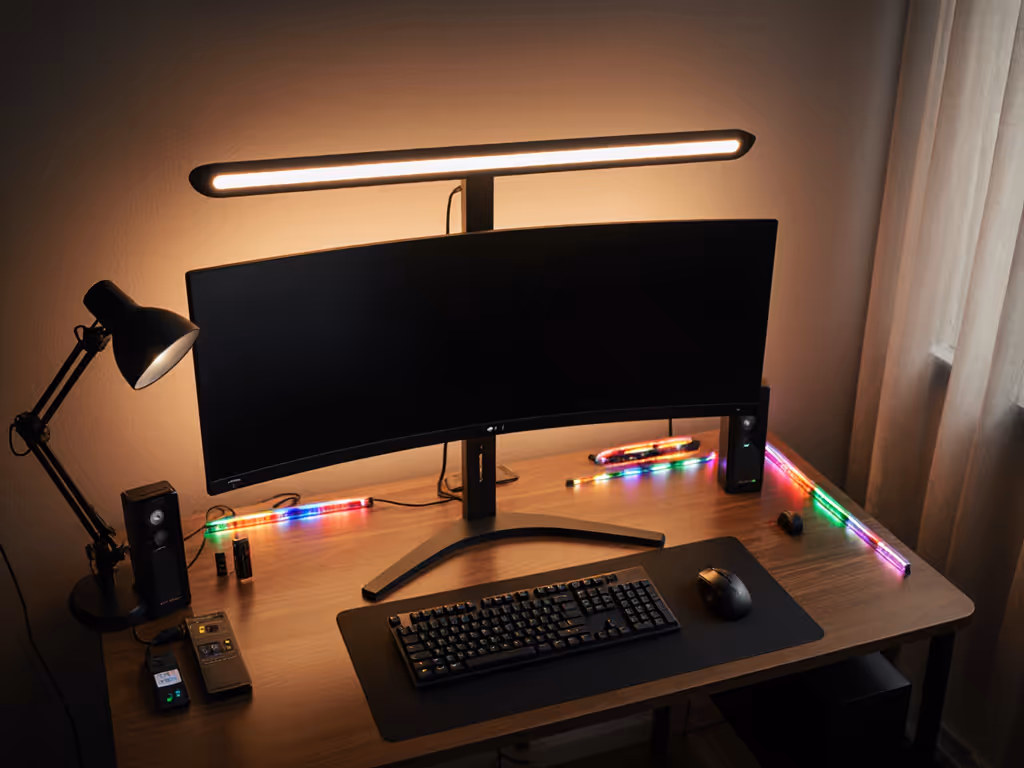
Gaming or immersive work: Ambient bias lighting (a light that illuminates the wall behind your monitor) reduces the perceived contrast between your bright screen and dark surroundings, easing eye strain during long sessions. This is often a secondary light, complementary to a focused monitor light. For a deeper dive on setup and benefits, read our bias lighting guide.
Choose your primary use case; this determines the light type you need.
Step 4: Plan Positioning to Avoid Glare and Shadows
Placement is where theory becomes practice. Poor positioning wastes a quality light and often causes the very eye strain you're trying to prevent.
Positioning rules:
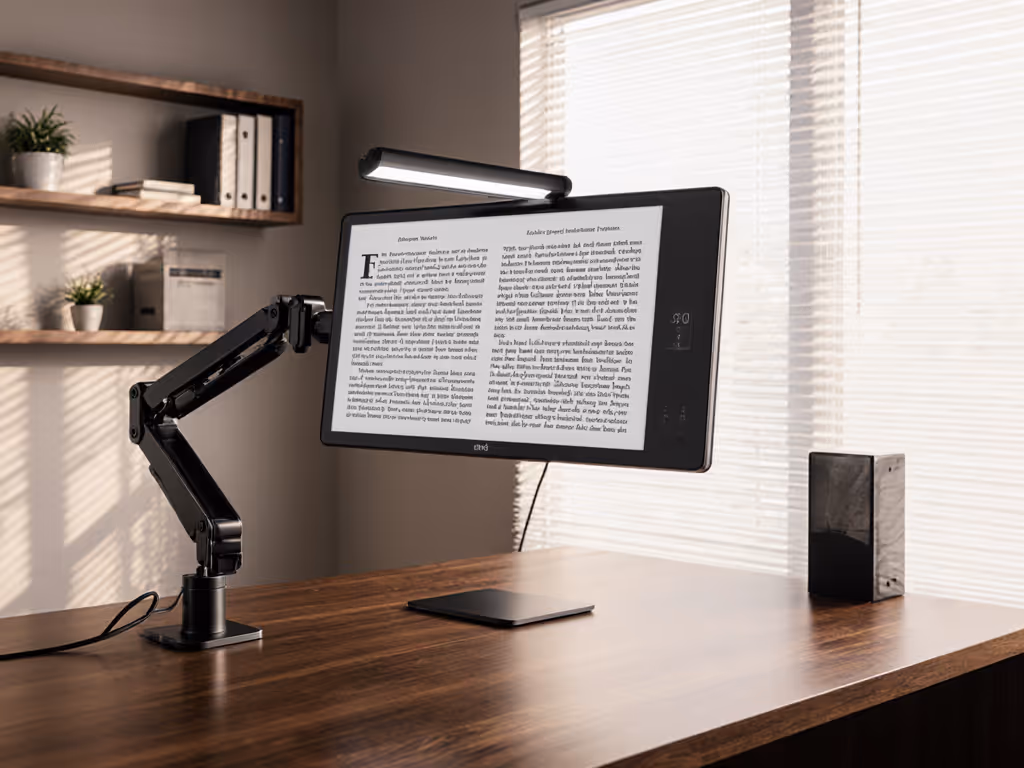
- Mount the light directly above or slightly behind the monitor. The goal is to illuminate your keyboard and desk surface evenly without creating reflections on your screen. If your monitor is against a wall, a light with a back-glow feature provides ambient illumination without direct glare.
- If your monitor is free-standing with clear space behind it, a standard front-facing light bar works best. Center it horizontally on the monitor's top edge.
- Avoid positioning lights to the side of your screen. Side lighting creates uneven shadows on your keyboard and can cause glare off glossy monitor bezels or covers.
- Test the angle. Once installed, turn on your light and observe the illumination pattern on your desk and keyboard. Adjust the tilt angle (if the light bar allows) until the glow is even and there's no bright reflection on your screen. This takes two minutes and prevents weeks of squinting.
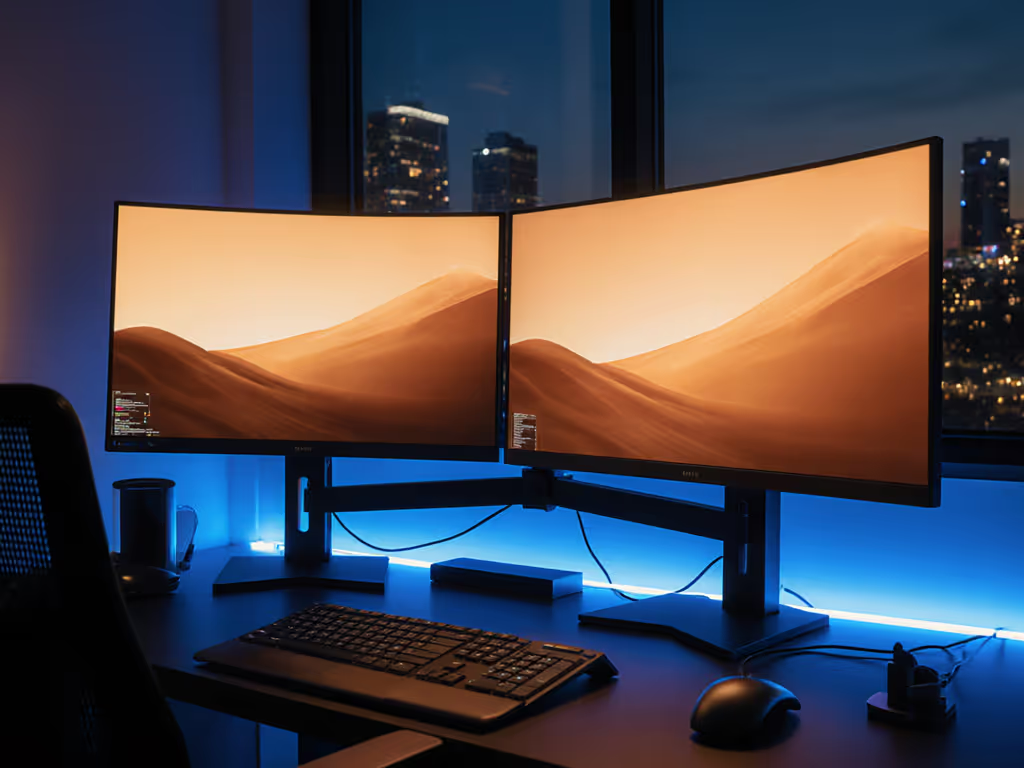
- For multi-monitor setups, avoid a single light source. One light bar across two or three monitors will leave the outer monitors dimly lit. Each monitor benefits from its own complementary lighting. Yes, this sounds like overkill (until you realize that uneven lighting causes more eye strain than no lighting at all).
Step 5: Adjust Brightness and Color Temperature for Your Environment
Once installed, most monitor lights offer touch controls or an app for tuning brightness and color temperature. Don't skip this step; it's where a mediocre setup becomes truly comfortable.
Tuning checklist:
- Start at 50% brightness during the day. Most people over-brighten their lights. The goal is to fill shadows and even out lighting, not to create a mini spotlight on your desk. Dial it down until the light feels natural and matches your monitor's brightness.
- Shift color temperature with your circadian rhythm. Use a warmer tone (3000-3500K) in the evening and a cooler tone (5000-6500K) during peak work hours. Many lights let you save custom presets (take advantage of this). Some even offer automatic scheduling, adjusting color temperature based on time of day.
- Reduce intensity during video calls. If your light is in the camera's line of sight or reflects off your monitor, it may create glare or overexpose your face in video. Dimming the light or temporarily switching it off during calls is a quick fix. For consistent on-camera results, follow our video call monitor setup checklist.
Step 6: Test and Document Your Setup
After installation and tuning, spend a full workday using your new lighting. This is your quality-assurance phase.
Test checklist:
- Monitor for eye strain. How do your eyes feel after two hours? Four hours? If you're still squinting or straining, your brightness is likely too low, or the color temperature doesn't match your monitor's settings. Adjust and try again.
- Check for glare and reflections. Look for bright spots on your screen, keyboard, or desk surface. These indicate poor positioning and warrant a small angle adjustment or a repositioning of the light bar.
- Verify that all controls respond. If your light uses touch buttons or an app, confirm that brightness and color temperature adjustments work smoothly. Unresponsive controls hint at a faulty unit and warrant replacement while you're still within the return window.
- Confirm cable routing doesn't create strain. Is the USB cable routed cleanly behind your monitor and desk? Does it stay out of your way during height adjustments or daily movement? Cable strain or frequent catching is a sign you need a longer cable or a cable organizer. For tidy, snag-free runs, use our monitor cable management guide.
Document your final settings: brightness level, color temperature, and light position. This becomes your reference if you ever reinstall or troubleshoot.
The Real Payoff: A Desk That Feels Right
A well-chosen lighting setup doesn't just reduce eye strain; it changes how you feel at your desk. You'll notice that long work sessions feel less fatiguing. Video calls show a more evenly lit face. Games and creative work feel immersive without the harsh monitor-bright-dark-surroundings contrast. And you'll never ship a return, because you measured once properly and installed once.
Start with your preflight: monitor specs, power budget, and positioning constraints. Choose your light type based on your workflow, not trends. Install deliberately, test thoroughly, and adjust to comfort. This methodical approach transforms what could be a frustrating compatibility puzzle into a quiet, invisible upgrade (the kind that works so well you stop thinking about it).
Your desk setup is a system. Treat it that way, and it rewards you with months of frictionless, focused work.