Night Shift Monitor Setup: Blue Light Management Guide
By Elena Petrovic • 27th Mar
Managing blue light in night-shift environments requires understanding both the science and the systems that govern your display. Night shift monitor setup is not merely about software toggles, it involves coordinating your operating system, hardware configuration, and physical workspace to achieve predictable color behavior after dark. This guide walks through the mechanics of blue light management for night work, the relationship between tools and circadian impact, and how to construct a stable nocturnal viewing environment.
Why Blue Light Matters at Night
Exposure to bright blue light in evening hours affects your circadian rhythm (the biological clock regulating sleep-wake cycles). Your display emits significant energy in the blue spectrum (wavelengths around 450-495 nanometers), which your eyes register as activation signals during daylight hours. When this signal arrives at night, your body delays melatonin production, making sleep onset harder.
This isn't merely discomfort; it's a systematic disruption. Your visual system perceives color temperature (measured in Kelvin) as day-or-night context. Cooler, brighter displays signal morning; warmer, dimmer displays signal dusk. Intentionally shifting your monitor toward warmer tones after sunset helps realign that signal. For a broader plan that includes lighting and ergonomics, see our eye health accessories guide.
Understanding Night Shift vs. Night Light
macOS and Windows each provide built-in circadian rhythm monitoring through dedicated features: Night Shift on macOS and Night Light on Windows 10/11. Both use your computer's clock and geolocation to determine local sunset, then automatically reduce blue output by shifting color temperature toward the warm end of the spectrum.
The difference lies in control and effectiveness. Night Light on Windows, when measured by independent testing, proved more effective at blue light reduction than monitor-level filters or macOS Night Shift. However, Night Shift integrates seamlessly within the Apple ecosystem and requires no manual intervention.
Key operational differences:
- Schedule type: Both support automatic sunset-to-sunrise scheduling or custom time windows.
- Intensity adjustment: You can manually dial warmth intensity on either platform.
- Third-party alternatives: Tools like f.lux and Iris offer finer control, location-aware transitions, and task-specific presets (reading, programming, design work).
OS-Level vs. Hardware Blue Light Filters
Most modern monitors include on-screen display (OSD) menus with "low blue light" or "eye care" modes that claim to reduce blue wavelengths at the hardware level. Research shows these monitor-native filters are often less effective compared to operating-system interventions.
Why? Monitor-level filters apply a single, static reduction across all content. OS-level software can dynamically adjust color temperature based on time and application context. Testing confirms that Windows Night Light is significantly more effective at removing blue light than monitor-embedded filters.
Recommendation: Prioritize OS-level tools (Night Shift, Night Light, or f.lux) over monitor hardware filters. Reserve monitor OSD blue light modes for daytime high-brightness scenarios where you need additional glare reduction. For a complete nighttime workflow, pair software adjustments with our night shift ergonomics guide.
Implementing Low-Light Workspace Ergonomics
Night-shift work demands more than software. Your physical environment (monitor distance, angle, lighting around the screen, and mount stability) directly affects your perception of color and your ability to work comfortably.
Monitor brightness optimization becomes critical in low-light environments. A display running at 100% brightness in a dark room creates contrast-induced eye strain; ambient light flooding the panel washes out blacks and false-colors your perception of what's on screen. Conversely, if your monitor is the only light source, you're forcing your eyes to adapt constantly between screen and surround.
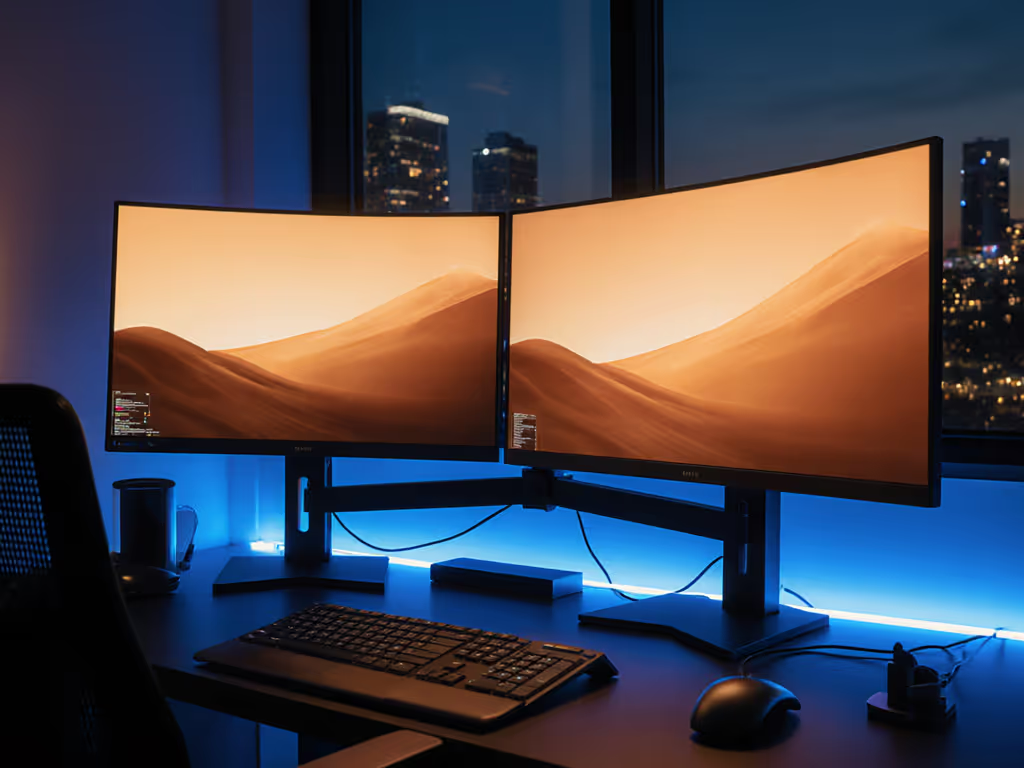
Adjust brightness to match your ambient light level (typically 30-50% in a darkened studio or office after sunset). Adding neutral bias lighting behind the display can reduce eye strain and stabilize perceived contrast at night. Your Night Shift or Night Light adjustment should then layer on top, warming the color temperature without forcing excessive brightness reduction.
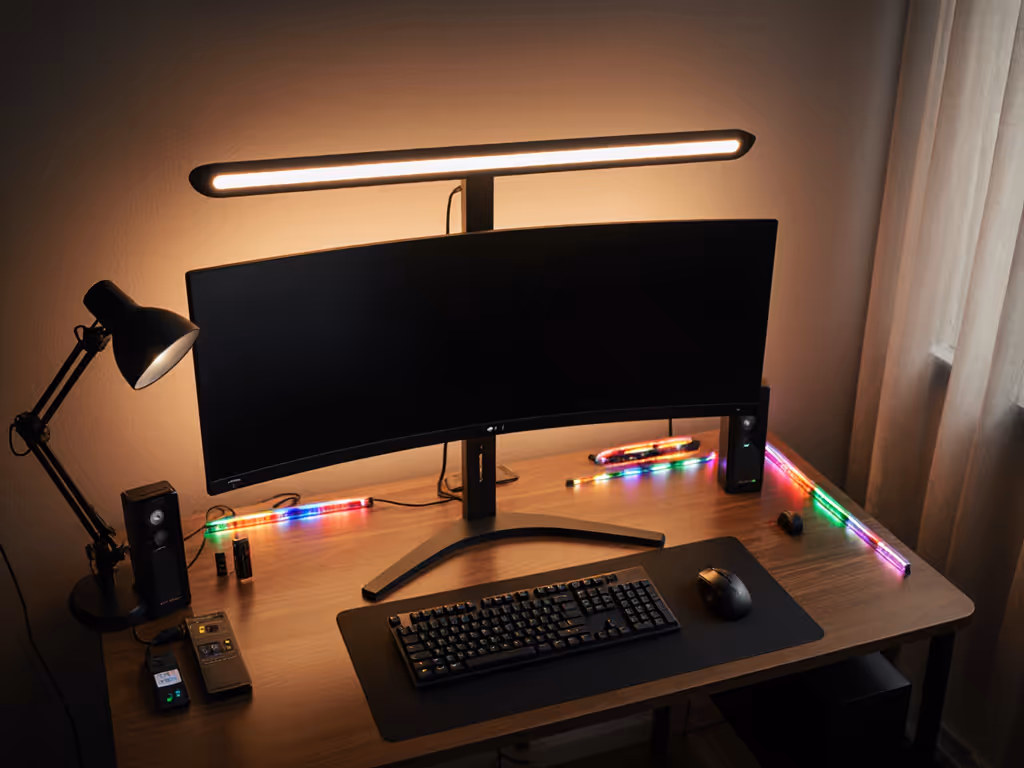
Cable routing and mount stability: Here is where precision enters. A loosely mounted arm allows micro-motion when you interact with your desk (typing, scrolling, moving your mouse). That small sway shifts reflections on the panel and causes your eye to re-focus constantly, degrading perceived black levels and color uniformity. During a past grading session, exactly this issue revealed itself: a tolerance gap in an arm's ball joint let the reference monitor micro-sway when I scrubbed the timeline. Sub-perceptual motion shifted reflections and darkened blacks inconsistently. After isolating mass, damping, and cable strain (ensuring zero play), stability returned and color consistency followed. Stability is a spec.
If your monitor arm, mount, or desk has play or flex, address it before fine-tuning software settings. Color accuracy includes the mount, the cables, and the light. To eliminate play and sag, follow our monitor arm tension guide for proper adjustment and maintenance.
Multi-Monitor Consistency
If you run multiple displays (a common setup for remote work or creative professionals), ensure night mode accessories and settings are consistent across all panels. A mismatch (one warm, one cool) increases perceptual discomfort and makes color judgments unreliable.
When you enable Night Shift or Night Light, the adjustment applies system-wide. However, if individual monitors have different OSD color temperature presets enabled, they will fight the OS setting and produce visible color variance.
Workflow:
- Disable all monitor-native blue light or warm color modes in the OSD.
- Use Night Shift (macOS) or Night Light (Windows) as your single source of warmth adjustment.
- If running dual displays, verify both are receiving the same OS-level signal by checking the color temperature visually at your working distance.
- For multi-monitor setups with different panel types, measure or document the nominal color temperature of each under Night Shift/Light to establish a baseline.
Hardware Considerations for Night Work
Certain monitor specifications support sustained night-shift use:
- Flicker-free technology: Eliminates PWM (pulse-width modulation) flickering, which can accelerate eye fatigue during prolonged low-light viewing.
- Brightness intelligence or ambient light sensors: Some monitors auto-adjust brightness to match room illumination, reducing the constant refocus demand on your eyes.
- TÜV Rheinland certification: A global standard verifying reduced blue light emissions when a low-blue-light mode is active.
- Ergonomic adjustability: Height, tilt, and swivel range allow you to position the screen at proper viewing distance and angle, reducing strain from poor posture.
When shopping for a monitor intended for night work, prioritize flicker-free certification and adjustability over low blue light marketing claims alone.
Setting Up Your Night Shift Schedule
To enable Night Shift on macOS:
Open System Settings > Displays > Night Shift. Select "Sunset to Sunrise" for automatic scheduling, or create a custom time window matching your work hours. Adjust the color temperature slider until the display feels warm but readable (neither excessively yellow nor still too cool).
To enable Night Light on Windows:
Open Settings > System > Display > Night Light. Toggle it on, then use the slider (0-100) to set intensity. For maximum control, turn off scheduled activation and manually toggle Night Light as needed, or use Windows Task Scheduler to activate it at your set start time.
Measurement and Validation
If you work in color-critical domains (design, photography, grading, print), verify that Night Shift or Night Light does not distort your color decisions during night sessions. For tool recommendations and setup tips, see our monitor calibration tools guide. Compare your monitor's appearance at night (with Night Shift on) to its daytime state (Night Shift off) under controlled lighting. If you notice systematic color shifts in your work (reds appearing orange, greens skewing yellow), the warmth adjustment is too aggressive, or your ambient lighting is insufficient.
Use a colorimeter or spectrophotometer to measure the display's spectral distribution under Night Shift. This is impractical for most users but essential for professionals who need to verify that warmth adjustment doesn't compress color gamut or create casts that corrupt your output.
Conclusion and Path Forward
Night-shift work success depends on three linked systems: the operating system's blue light adjustment, the monitor's physical stability and ergonomics, and your workspace lighting environment. Start by enabling Night Shift or Night Light at your expected work onset time. Then audit your monitor mount for play or flex, ensure ambient light is present (do not rely solely on the display), and standardize settings across multiple displays if you have them.
For deeper exploration, investigate third-party tools like f.lux if you need task-specific presets or work across multiple time zones. Test your setup over a week of actual night work, noting eye comfort and sleep quality. Adjust brightness and warmth incrementally; the goal is readability and comfort, not maximum color warmth.
Your setup is a system. Optimize each component in concert.
Related Articles